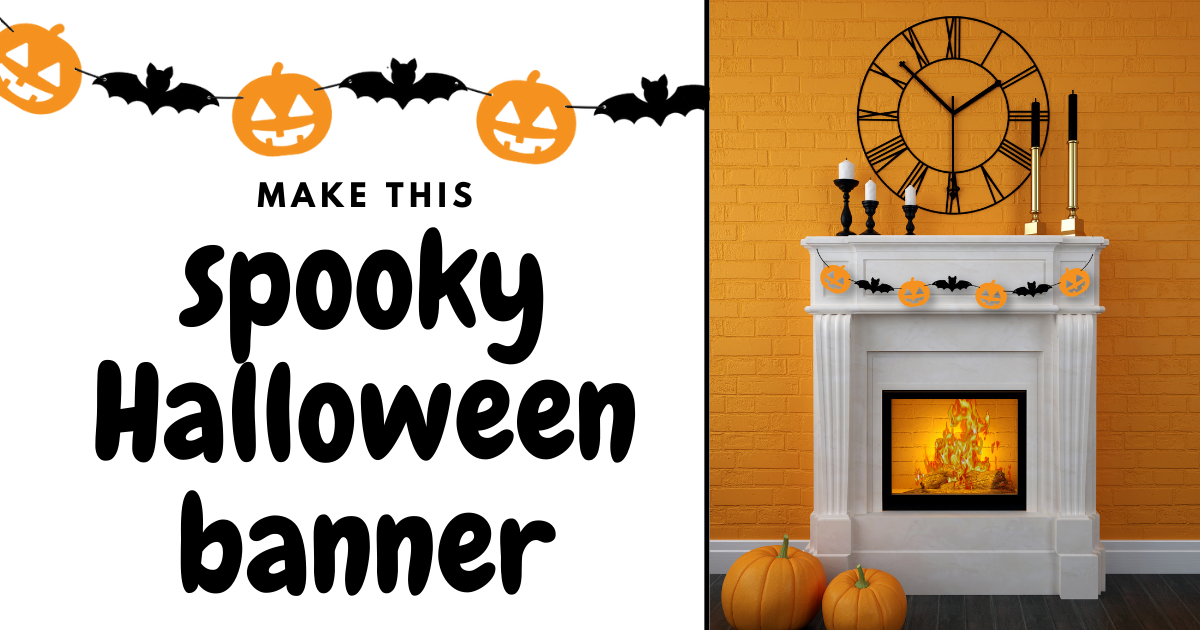
Halloween is just around the corner and there are so many cute spooky decorations you can create with your Cricut. One of my favorite Halloween decorations to make is a simple flag banner that you can hang on your fireplace, over your staircase, or around a table. You can make this flag banner for your own home decorations or to spice up your Halloween party this year!
Banners are always super fun to make and a really simple project, which is great, especially if you are throwing a party and need to create a lot of Halloween decors. I have crafted several Halloween banners in the past, and have even made them for Christmas and Valentine’s Day!
If you want your banner to hang outside, make sure you are using a tougher material other than card stock or paperboard. You might want to use vinyl otherwise your paper will get wet and destroyed with either rain, or morning dew.
Another great thing about this project is that it’s very inexpensive. To make the orange pumpkins and black bats, the total cost of the project was only three dollars for the colored construction paper. If you don’t already have string or yarn to use, don’t forget to add it that cost for your total cost of materials.
Materials You Need
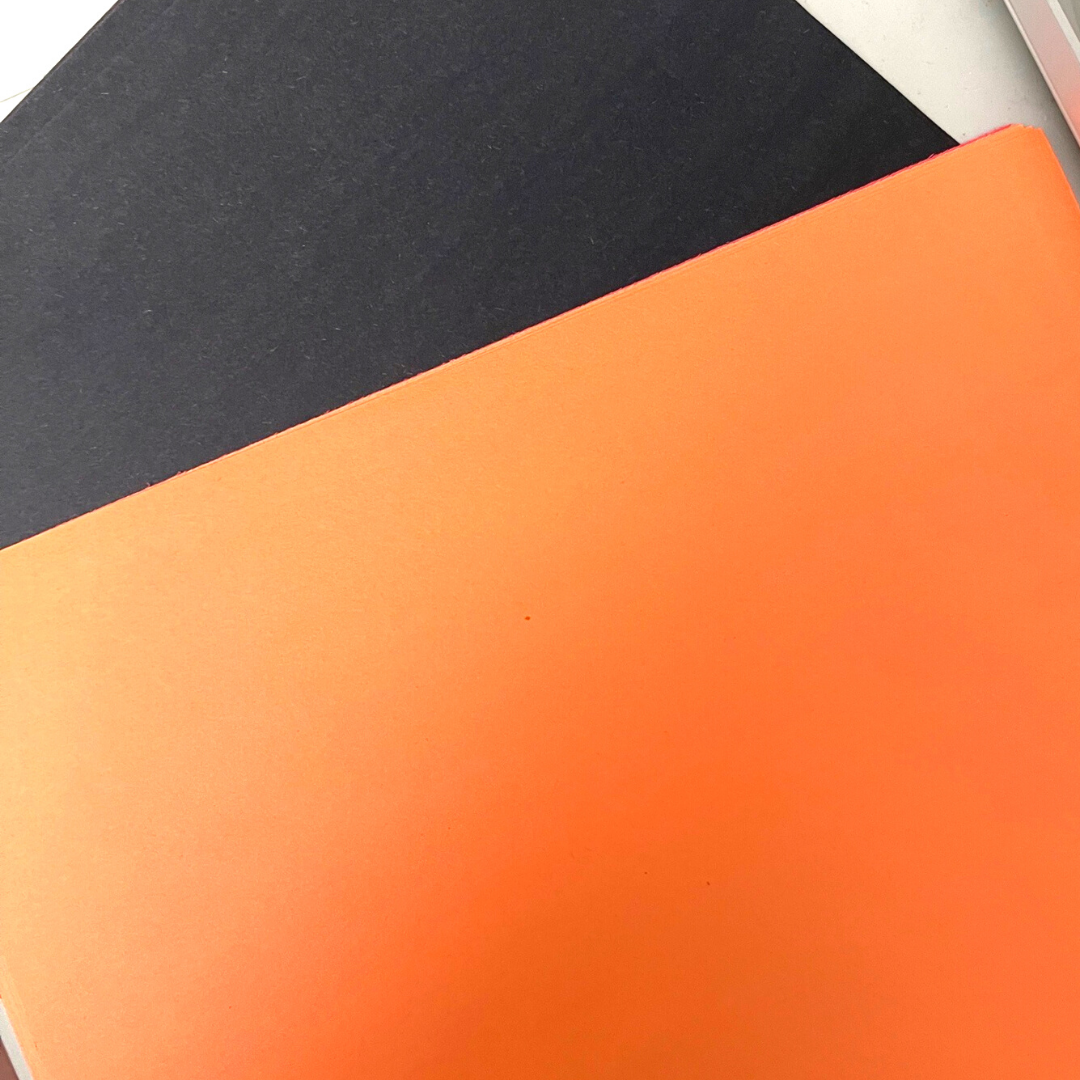
The first you need is construction paper. I used a generic brand colored paper I picked up at my local dollar store, but any construction paper would be fine. Chose card stock weight paper to make sure your Halloween banner last for years to come. The colors I chose for this project were orange for the pumpkin and black for the bat, which are more traditional Halloween colors, but feel free to use whatever colors match your decorations and/or party!
The only other materials you need are your Cricut, your Cricut cutting mat and string or yarn to hang your banner from. I already had some small brown craft rope, but any yarn or string would work well for this project.
Lately, in this tutorial I created these amazing free Halloween decoration designs, available in Creative Fabrica’s freebies!
Step-By-Step Instructions
Before you begin, you are going to want to measure the space you are going to hang your banner, so you know how many pumpkins and bats to cut out with your Cricut. I will be hanging the banner I made over my fireplace mantle which is a pretty standard size, so I will only need to cut out six bats and six pumpkins. But you may need to cut out more or less depending on where you will be hanging your banner.

After you have measured your space, upload the free SVGs from Creative Fabrica into your Cricut Design Space. Begin by cutting out your pumpkins first. The cardboard paper I used was 8×11 inches, so only two pumpkins fit at five inches long. Copy and paste your first pumpkin to create two identical pumpkins and place them stacked like the picture example.
Before you begin to cut, make sure your dial on your Cricut is set to paper if you are using construction paper, or card stock if you are using a thicker paperboard. I am using construction paper, so I set my dial to paper, and it worked just fine.
Press the button on your Cricut to begin cutting and cut your pumpkins out on your machine. When they are completed, carefully pull up the excess paper leaving the pumpkin out line and cut out face. Next, pull up your pumpkin, leaving the remaining face cut out. You can discard the jack o lantern face, or reuse it in another craft project!
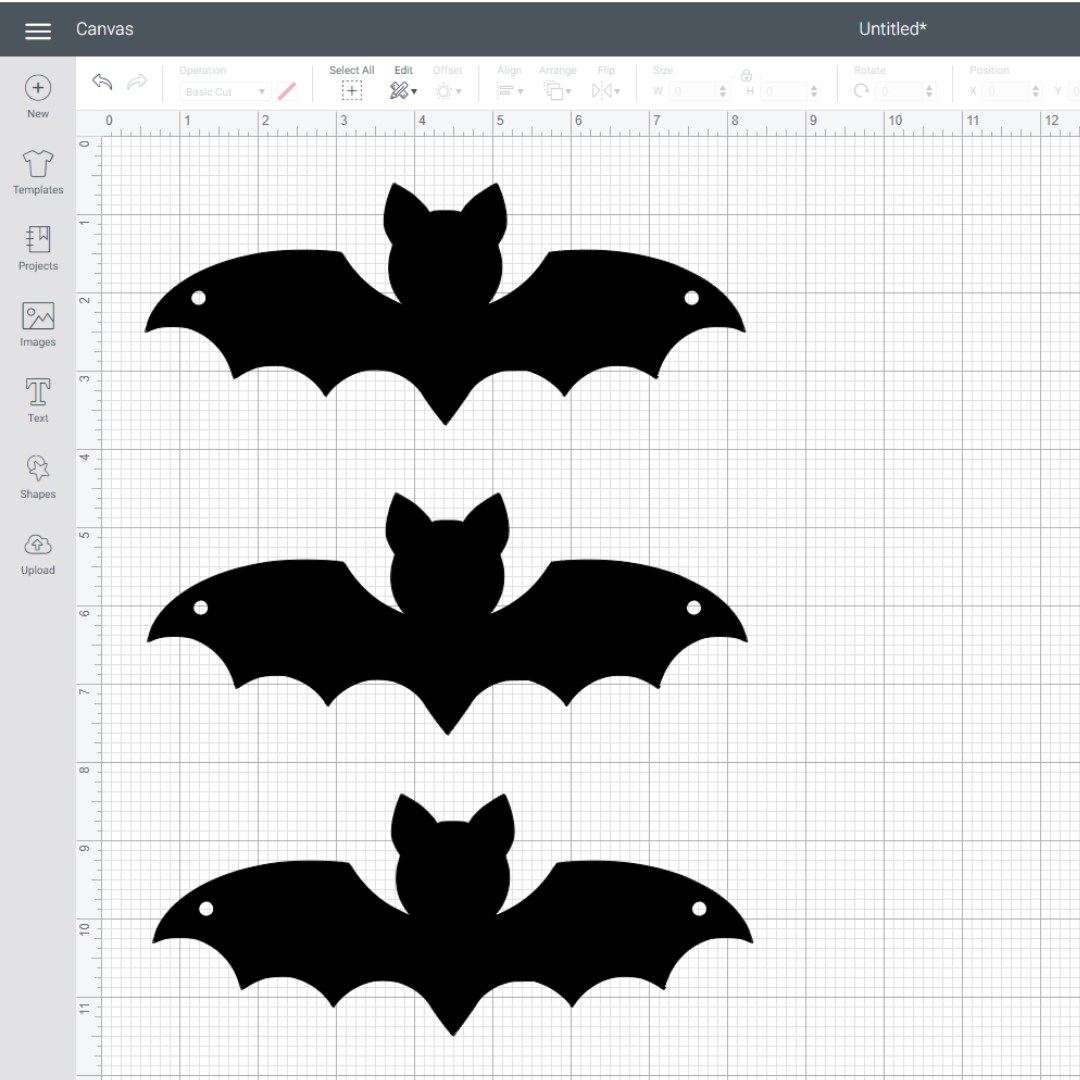
Repeat this process with the bats. Because the bats are a little longer and skinnier, I was able to fit three bats onto one 8×11 inch piece of construction paper. Using the same process, copy and paste the bats two times in your Cricut Design Space. Space out the bats and cut them out with your Cricut.

Once the bats are done cutting, peel off the excess paper, leaving the bats on your cutting mat. Carefully peel off each bat and set aside.
For this project, I cut out six bats on two pieces of paper and three pumpkins on three pieces of paper for the banner to fit over my fireplace. But use however many bats and pumpkins are needed to fit your desired space.

Once you have all your pieces, make sure the little hole on each side of the bats and pumpkins are also popped out. This is where your string will go. Weave your string through the back of the pumpkin first, alternating with the bats and pumpkins until you are done. Loop the edges of the string with a knock, so you can hang it up easily.

Tips and Tricks
Flimsy paper will not work well with this project. The bats and pumpkins need weight to hang straight and if you are working with paper that is too thin the bats will dip down and not face straight.
Laminate your project or place protective contact paper over the pumpkins and bats, so the decoration will last over and over again without ripping or shredding any of the edges of the paper.
Try adding glitter, decorative string or gluing on small plastic spiders to spice up the look of your hanging Halloween banner.
Hang your banner over doorways, in adjoining rooms or even around a dining room table!
How to duplicate a cut
To duplicate a cut without having to reset your design space graphic, press the double arrow button on your Cricut machine. This will release your mat, but do not press the finish button on your Cricut Design Space program. Instead, set up your cutting mat up again with another page that you need to cut out. (This is helpful when you are cutting the pumpkins and bats, so you don’t have to keep going back into Design Space.) Once you have a fresh cutting mat set up, feed it into your Cricut and simply press the C button on your Cricut. This will repeat your last cut.
For more Cricut creations, follow my blog post on Creative Fabrica’s The Artistry!
Dieser Artikel wurde verfasst von