Congratulations! You’ve ordered your home laser and are ready to jump into the world of laser cutting and engraving. It’s natural you’d be thinking about diving headfirst into your first project, but while you’re waiting for your laser to arrive, it’s a good time to cover the basics to help you get started smoothly and keep you prepared for many projects to come.
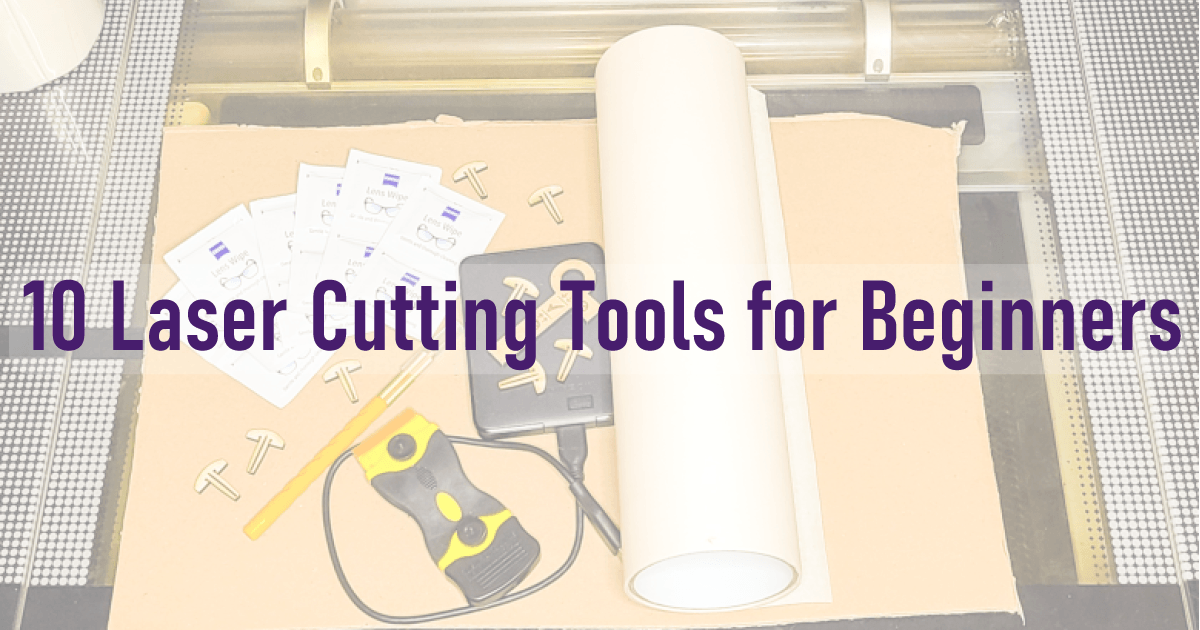
Here are ten must-have laser-cutting tools for beginners:

- Vector graphics software and photo editing software
- Commercially licensed fonts
- External hard drive
- Lens wipes
- Paper masking
- Craft Knife
- Cardboard
- Plastic Razors
- Hold-down pins
- Focus ruler
The materials and tools you’ll need in the beginning will vary vastly based on the types of products you wish to create; so, while this list is not inclusive to those types of items, it’s a base list that all CO2 laser users should have on hand. The last two items on your list are tools you can create yourself using your laser.
Vector Graphics and Photo Editing Software

Maybe you are already familiar with programs that you’ll want to use, like Adobe Illustrator and Photoshop. But if you have no experience with these types of software, it would be most beneficial to you in the long run to learn how to use one. While in the beginning you may not mind buying files from other people, eventually, those costs add up, and you’ll always be limited to what other people can create for you.
Software suites like with Adobe and CorelDraw are full of useful tools, and if you’re already familiar with them, then stick with what you know. But for a new user, not only is learning such comprehensive software daunting, but the high monthly subscription costs will deter many from ever trying.

Luckily, there are other software options available at low cost or even free. While they all have their own learning curves, strengths, and limitations, they usually have strong community support where you can learn how to use the tools you need.
A free and highly useful vector graphics software is Inkscape and can be found here. There are free updates that often add new tools, though some appearance changes between updates can be disorienting to someone still trying to learn what they downloaded (updates are not required to continue using the program). A lot of users coming from a craft cutter background with Silhouette can even continue to use their Silhouette Business Edition software for their file design. A new, user-created online software called Cuttle.xyz was developed specifically for lasers and craft cutters. The first five projects are free to create, with a paid option for those who like it and want more. Mac and Apple users have other design software available to them that is optimized for their products. It is good to try different software products when you can to find the right fit for you.
There are certain things that a vector graphics software cannot do. For example, getting a photo to be ready for laser engraving takes a bit more work to optimize the image. Something as simple as cropping an image into a shape really cannot be done in a vector software. For example, although the vector software shows that you cropped your photo into a star shape, the interface for the laser would read that as a mask or clip and remove it, giving you the full image rather than the star-shaped version.
You should go with the software you are most familiar and comfortable with. If you are not familiar with any programs, popular ones would be Adobe Photoshop, CorelDRAW, Affinity Photo, and GIMP. GIMP is a free, open-source platform that is recommended by many for photo editing.
Whatever you decide to use, you’ll benefit long-term by choosing a software that fits your budget and creative style.
Commercially Licensed Fonts
No matter what you plan to create with your laser cutter, at some point, you’ll make something with words. While most people don’t consider where their font comes from, when you are in the business of making and selling products with words, it becomes a larger issue.
Fonts are like art. They are created by someone. Like art, fonts are covered under certain rights to protect the creator. They can sell those rights, or share under “personal use only” conditions. It is important as anyone who uses those fonts on items they plan to sell, that the fonts come with full commercial rights.
Rather than downloading whatever free fonts you like from the internet, protect your future projects, and save yourself any hassle of trying to remember which ones are personal-use only and which fonts have commercial rights by only buying or downloading from websites that come with full commercial rights. Websites like Creative Fabrica ensure that their products offered to you come with lifetime commercial rights, so you never have to worry about that font you have adorning all your products.
External Hard Drive
Although having an external hard drive may not be on the top of a lot of people’s lists, it’s something that is extremely useful to have. Having a place to organize and store your files will save you the headache of searching through hundreds or thousands of files randomly saved on your system. Get started on a file organization system that works for you immediately and you’ll be glad you did.
Having all your files on an external hard drive will also allow you to save space on your computer for more demanding programs, like your creative software. And if you ever need to upgrade your computer or switch systems, you’ll have all your files in one place ready to go wherever you plug it in.
Lens Wipes

Moving on from the creator side of things, machine maintenance is another important consideration when buying supplies. One of the simpler maintenance tasks that every user will need to perform often is cleaning the lenses of your laser. When the lenses are dirty or cloudy, it affects the laser beam and its effectiveness, making it difficult for the machine to cut through materials or the internal camera to focus on surfaces.
By using wipes made to clean highly sensitive camera lenses, you’ll ensure that your cleaning will not scratch surfaces or cause damage from trying to maintain your machine. A box of Zeiss Lens Wipes should always be on hand.

How frequently you wipe the lenses will be determined by the materials you use. Cutting materials like medium-density fiberboard (MDF) will dirty a machine much faster than engraving marble, so your frequency in cleaning will vary greatly by your work, but it will still need to be performed.
Paper Masking

The need for masking will also vary depending on your projects and materials used, but it is a highly useful tool to keep around. It normally comes in rolls of varying width and lengths and can be acquired online through Amazon or sign supply stores listed as paper transfer tape.
When using a CO2 laser, like a Glowforge or OMTech, it is important to NEVER use anything that contains polyvinyl chloride (PVC). There are masking and transfer tapes for craft cutters made of vinyl (contains PVC), which is unsafe in a CO2 laser (the gasses released are instantly corrosive both to your machine and lungs). Any masking bought for lasers must be paper based.
Masking is useful to prevent unwanted flashback and smoke marks. If you are engraving, masking also helps with precision painting, or can be used to protect surfaces on items that need to be transported or shipped.
Masking is best applied with pressure. After cutting it to the size that you need, use a stiff squeegee to hard press the masking to the surface of the material and work out any air pockets that may be trapped between the masking and the surface it was applied to.
Craft Knife
Although it isn’t ideal, there will be times when cutting that the laser may not make it entirely through. This will happen when cutting woods that may be filled with voids or pockets of glue. This may also happen if your machine needs cleaning, or your settings need adjustments.
In cases like these, when only a small portion has not been cut through, it is a simple fix to use a craft knife to cut through the remaining bits. In the case of voids or glue pockets, the laser will not easily cut through the material no matter how many times you run the laser cut function over the same spot. Save the time and headache and save material from being wasted with this simple tool.
Cardboard

You’ll learn quickly that costs can add up while testing files on your supply hoard and will lead to a lot of wasted materials. Cardboard is a cheap and useful alternative that can be used to test cut files before trying them out on your final materials.

Flatten out those shipping boxes (not the one your laser came in) and use cardboard for perfectly aligning engraving blanks by making disposable jigs. To do this, set the cardboard in your laser, securing it in place using honeycomb pins or painter’s tape. Upload your file, with a cut line that will allow you to set your blank in the cut-out. This is also useful in creating a jig for when trying to engrave multiple items at once.
Plastic Razors

With masked materials, including woods and acrylics, removing the masking can be a major hassle. There are hacks to remove masking and save your fingernails, like using a very strong duct tape. But using plastic razors to scrape off the masking is quick and saves on expensive rolls of duct tape. The plastic razor blades remove the masking and does not damage the surface of the material with scratches.
Hold-Down Pins

Depending on your model of laser, you are likely to have a honeycomb crumb tray in the laser bed. You can use scrap materials, like bits of MDF, to cut honeycomb hold down pins. The pins are useful to hold down materials that may not be perfectly flat or are light enough to be blown away when the air assist fan pushes smoke aside.
When you cut an item that you may want to flip over and place in the original cut, or you created a jig and need the material not to shift while placing or removing objects in the cut spaces, hold-down pins are useful to keep the jig or other materials still and prevent shifting.
Focus Ruler

This is another item that you can create yourself. With a home laser, like the Glowforge, the laser head focuses on the surface of the material, and it must be within a certain distance of the crumb tray to be engraved properly.
If you remove the crumb tray to accommodate a thicker object, you’ll need to adjust the item so that the surface falls within that optimal distance of the laser head. This is where a focus ruler comes in very handy. I often use the No Math Focus Ruler created by @dwardio for Glowforge to place jigs and items at the perfect height for engraving.

As you become more familiar with the types of products you will be creating, your list of essential tools will grow based on the direction of your work. For example, someone who works with metal will certainly have metal marking sprays on their list, or a fabric creator may use magnets to hold down their work rather than hold-down pins. My specific list of must-haves will greatly differ from another’s.
I hope that as your laser journey continues, you’ll share your experiences and must have tools for new users. Already an experienced user? What are your must-have tools you feel beginners need?
Cet article a été écrit par