Laser engraving a photograph can be a complicated mess! There are several steps you must take and settings to adjust to get the photograph to come out looking amazing. Personally, I tried about a dozen different combinations of photo editing and Glowforge settings until I was finally able to create the perfect laser engraved photograph! And now you can follow these easy steps to have your laser engraved photograph end up amazing every time!

The First step
First you will need to find what photograph you want to laser engrave! This photo will be the photo I am working with for this project! The photos that work the best have a wide range of colors and have a balanced exposure (not overly dark or bright), another important factor is to have a very sharp image!

Editing the Photo
For your photograph to correctly engrave you will need to convert it to Black and White, you can use any software to do this but for this example I will be using Adobe Photoshop, first you need to turn the background layer lock off, you can do this by clicking the lock button shown in the photo!

Next, convert your photo to black and white, you can do this by selecting the adjustments at the bottom right of the screen, (in the photo the place you must click is circled in red) hover over this option and select black and white.

You may need to adjust your exposure and contrast depending on the photograph you are using, to do this hover over the same spot and now select brightness and contrast, for this photograph I raised my brightness to 40 and my contrast to 10 It is essential that your photograph has a nice range between the whites to grays to blacks!
Once you are done editing your photograph it is time to export your image! You can export the photo as a JPG or PNG, I exported mine as a JPG.

Glowforge Settings
The settings for your laser engraved print may vary based upon what type of wood you are using, the wood I am using is birch plywood from home depot. It is .20” thick.

One of the most important things for you to remember is to use a sheet of wood that is NOT masked! If you use masking tape your image will come out dull, you will get a higher quality print without using tape.

To upload your file look at the top left of your Glowforge workspace, click create and upload from file, next select your black and white photo. After your file loads you are going to hit engrave, now it’s time to make your new settings, select manual settings and enter these settings, (you may have to vary them depending on what materials you use, these settings work perfectly for birch plywood). Set the speed to 1000, precision power to 60, grayscale MUST be set to convert to dots. If you don’t choose this your print will end up muddy and unfocused. The pattern density low point needs to be set to 0 and the high point set to 95, set the lines per inch to 270 and only one pass.
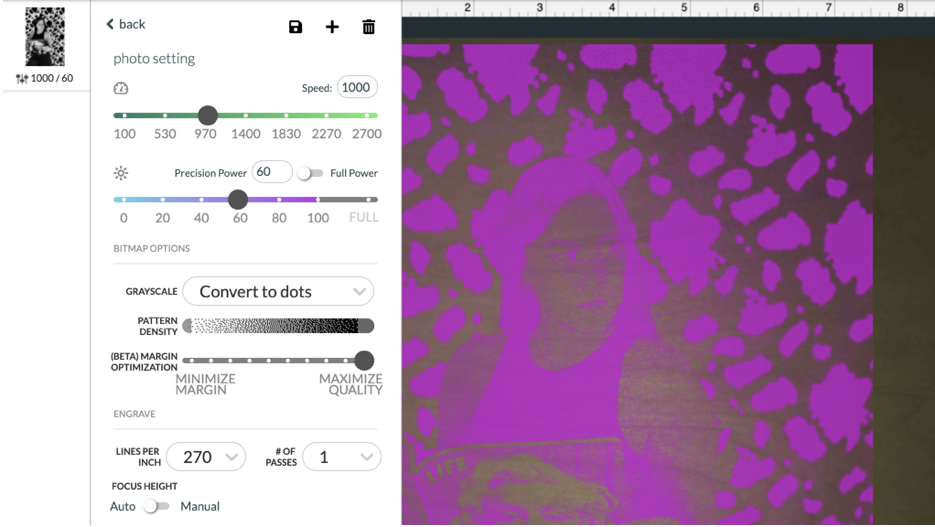
Save this setting and name it as whatever you want. In this case I named mine photo setting. In the photo you can see all the settings I used. Once you select and save these settings your photo will look pixelated, although it looks odd the photograph will laser out perfectly. Because my print is not going to take up the entire wood plank I will need to cut it out, the easiest way to do this is to create an outline around your file, select your file and hit the create outline button, for my file I wanted an outline that was tight around my photo so I set mine to zero inches, if you want room around your print you can adjust that setting to whatever you like.

The settings to cut out this outline will vary depending on what your materials are, use the settings you have saved for the type of wood you are using. For the wood I have, the settings I use are speed 110 and full power with only one pass. It also helps to change the order of what the Glowforge will do first, I change mine so the Glowforge engraves my photo then cuts it out, because there is no masking tape the wood will brown around the edges of your photograph. It is easier for it to engrave first then cut it out last.
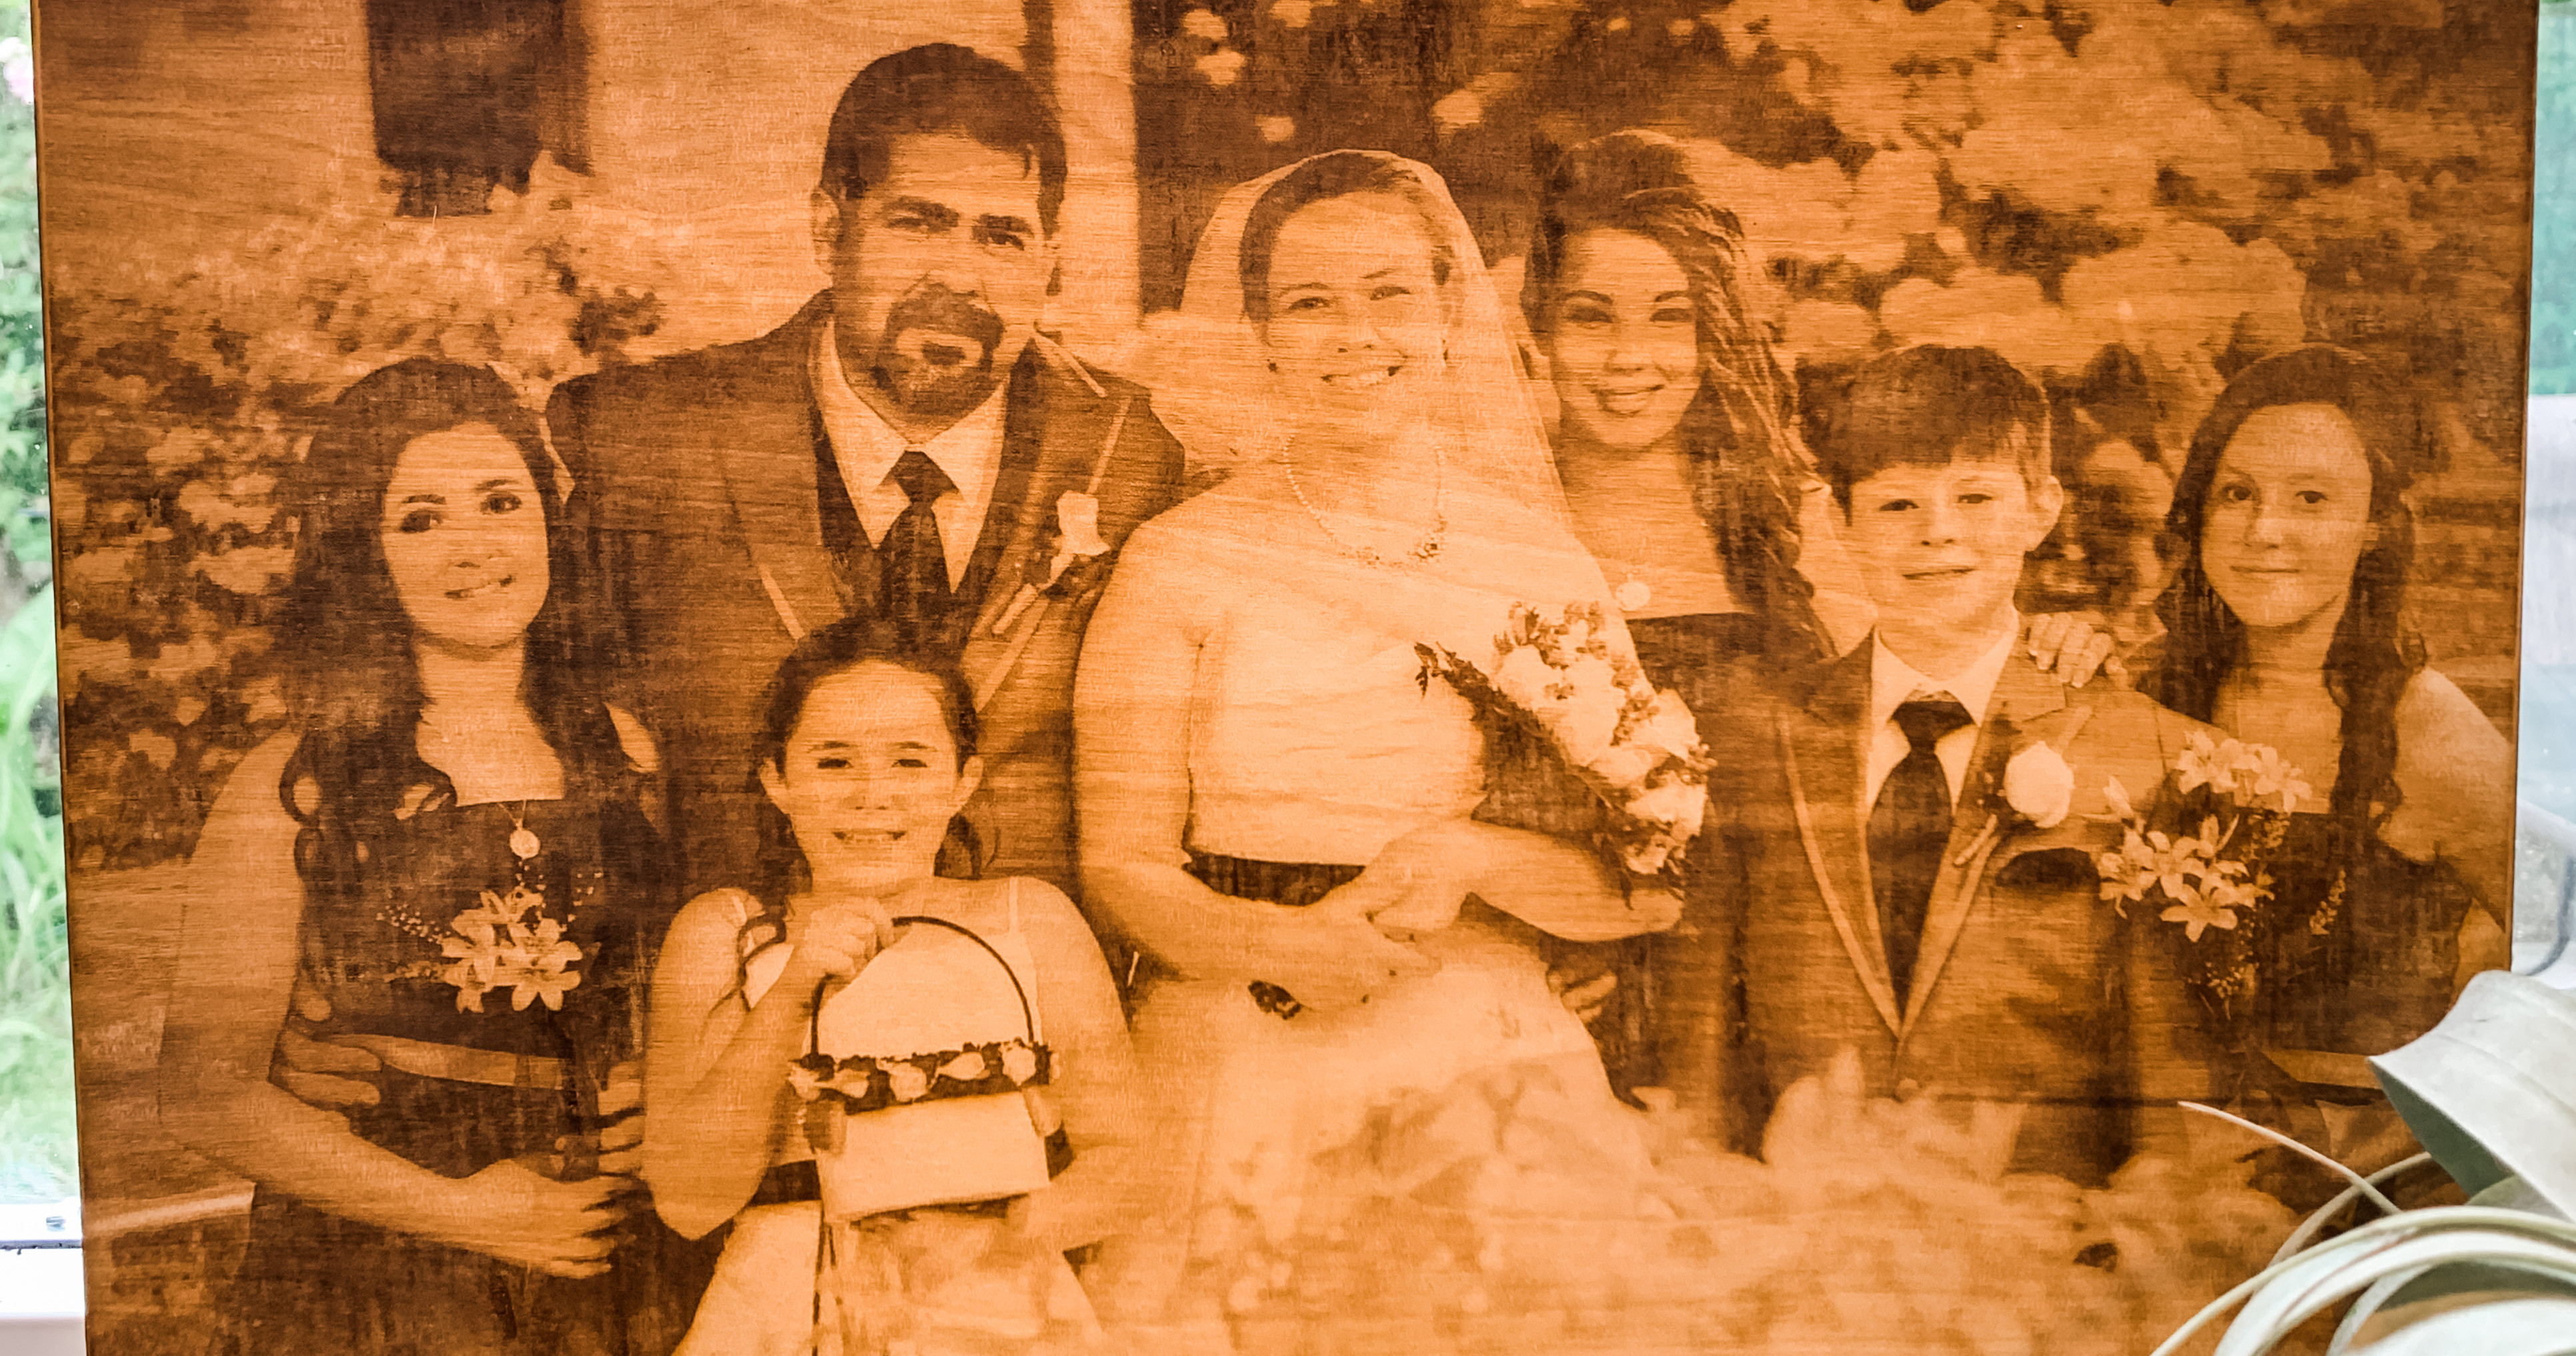
 After all your settings are in place, set your material thickness and hit the magic button! This print took about an hour and twenty minutes, these laser engraved photographs take a long time but the end result is perfect for gifts, I make these for weddings, birthdays and just about any special occasion you can think of. The best thing about laser engraving photographs is the ease, edit the photo, upload, print and walk away!
Happy Engraving!!
Cet article a été écrit par


