How to make stickers with your Cricut Explore
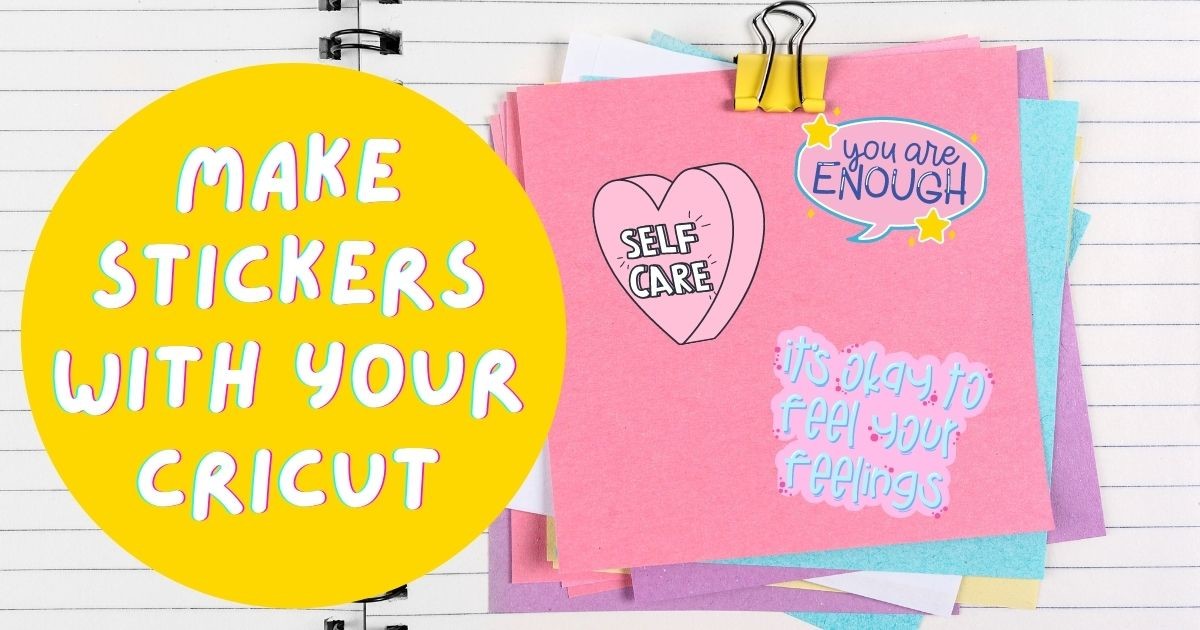
I’ve been using my Cricut Explore for a few years now, but when I found out that you can make stickers, I had to give it a try. To my surprise, making stickers was not only super fun, it was really simple too. You can make stickers for labels, planners, to decorate notebooks and more! Add stickers to cards, envelopes, give with gifts or make stickers for yourself.
Print and Cut with Cricut
Cricut uses a print then cut method to help you make stickers at home. At this time only the Cricut Explore and the Cricut maker are able to use the print then cut feature which takes a blank stickers sheet, prints the sticker first while connected to your printer, then cuts the stickers out in your Cricut.
This particular tutorial produces something called kiss cut stickers. Kiss cut stickers are stickers that are cut to the shape of the design. Cricut will also cut Die Cut stickers. Which are just stickers cute all the tway through all the layers. If you would prefer Die Cut stickers, follow along the tutotrial and select Die Cue before you cut your sticker designs out as opposed to Kiss Cut.
Follow along this tutorial and make these easy DIY stickers at home with Cricut Explore or Cricuty Maker.
Getting started
To get started, you will need PNGs or SVGs that you can use to make your stickers. You can download these free PNGs that I have used for this project.

Get the free sticker designs used for this project on Creative Fabrica.
Or you can head over to Creative Fabricas graphics and fonts and create a sticker of your own design. Use their SVGs and graphics to download tons of design options, or use one of their fonts to create a sticker design or saying of your own.
How to create your own stickers
To create your own stickers, use Photoshop, Procreate or Canva. If you don’t have any professional tools, Canva is a great place to start. You can easily upload designs, fonts, or other graphics and make stickers on their platform for free.
Other materials needed
For this project, you will also need full page stickers or label sheets. These sheets are easily found at any office supply store and usually come in 8×10 standard sheet size. I purchased mine at my local office supply store in the label section. The quality of paper will determine your sticker quality. So for stickers, I usually purchase Avery brand labels with a matte finish. You can also use a glossy finish if you prefer. Or for a waterproof finish you can spray your stickers with a thin layer of UV resistant sealer spray.
For the printer, any ink jet printer will work fine. However, if you are wanting to see more professional results, upgrading your printer to a fine quality ink jet for sticker printing will really help you get more professional results.
Once you have your sticker sheets and your sticker designs ready you can begin setting up your Cricut and opening up Cricut Design Space.
Printing your stickers
Upload the images you are wanting to use for your stickers into Cricut Design Space. Choose the print then cut option.
Remember that Cricut’s maximum image size for their print then cut feature is 9.25×6.75. So if you are doing multiple stickers, they all have to fit into this size. Adjust any sticker sizing keeping everything within Cricuts maxim image size for print then cut.
Once you have everything sized accordingly, load your sticker paper in your printer. I have to load my sheet with the size that will be printed face down, but make sure you load your sticker sheet to see how your printer will print, as sometimes they vary.
Click on the Make It button in your Cricut Design Space, then select the print option. Your printer will now print out your designs first from Cricut Design Space.

The printed section or live area will have a black border around the images. This is normal and is how your Cricut will be able to tell or ‘read’ where your images are to be cut.
Cutting out your stickers
Now that you have your sticker images printed, place them on a cutting mat as you would any other project.
Select the type of material you are using, the kind of stickers you want to cut. Since I am cutting out a sticker set or sticker sheet, I am choosing Kiss Cut. Which is basically a sticker sheet that’s not cut all the way through. This will produce a sticker sheet where I can easily peel off each sticker instead of individual stickers cut all the way through their backing.

Load your mat and press the cutting button.
Once your stickers are cut, slowly remove your sticker sheet from your cutting mat, being careful not to tear or rip any of your sticker sheet. I have found that sticker sheets stick very well to the cutting mat so peel off carefully.

Your stickers are now ready to use!
You can choose to peel off the outside layers of the sticker paper and discard. Or cut off the black border leaving the sticker and the outside layers intact like a sticker sheet.

Tips and tricks
- If you have found that your stickers did not cut all the way through, repeat the process by simply pressing on the arrow key on your Cricut to re-cut the sticker page.
- Experiment with toggling the border of the stickers in Cricut Design Space. Make your border thin or thicker depending on how much bleed you want your kiss cut stickers to have.
- Create your own present labels by using the sticker method. Especially helpful around the holidays!
- Some colors print better than others. Try different patterns and colors and see what works best with your stickers.
- Sell your stickers on Etsy or Big Cartel! People of all ages love buying, collecting and trading stickers for fun!
- Create label stickers for school supplies, backpacks and more.
For more creative project ideas for your Cricut, read and follow along my blog post on Creative Fabrica’s The Artistry blog.
Dit artikel is geschreven door