Sublimate a Photo on Wood with Laminate

I absolutely love sublimation because it allows you to create unique designs that oftentimes heat-transfer vinyl just cannot achieve. This is especially true of photos. While you can use printable vinyl or heat-transfer vinyl to print out a photo, you most definitely need to protect the ink with some type of laminate or resin – not so when you sublimate!
This project allows you to apply the same technique to an almost endless variety of crafts that involve wood. Your only limitation is your imagination!
Sublimate a Photo on Wood
-
- Supplies
- Digital Products
- Natural Wood vs. Laminate Overlay
- Cricut Design Space
- Upload your photo
- Design
- Laminate template
- Printing and Cutting
- Photo Printing
- Laminate Cutting
-
- Cricut EasyPress 2
- Apply the Laminate
- Sublimate your Photo
- Finishing
Supplies Needed
- Sublimation Printer (I converted the Epson Eco-Tank 2720)
- Digital products: Photo or image of your choosing
- Wood blank
- Heat-resistant tape
- Butcher or parchment paper
- Cricut EasyPress (or other)
- Sublimation paper (I used A-Sub)
- Thermal laminate
Digital Products
The only digital product that you will need is your own personal photo or image that you want to apply to your wood blank.
Natural Wood vs Laminate Overlay
As many crafters familiar with sublimation know, there are limitations to what you can sublimate your designs or photos upon. Your blanks must have a poly-coating on them in order for the transfer to occur…and last. So what happens if you attempt to sublimate on a surface without this coating? Well, this depends on the material, but more often than not it results in a dull transfer (if it transfers at all) that lasts a matter of days or even less! An example of this is attempting to sublimate on 100% cotton shirts. If the transfer happens at all, after the very first wash your design is all but gone. Not good. 😟
One exception to this rule, however, is wood. There are some instances where you can actually transfer your sublimation design onto natural wood with great results! The colors won’t be quite as vibrant, and you may lose some tiny details, but sometimes a faded, rustic look is desired!
That said, there is a very easy workaround to sublimate your design onto natural wood, all the while maintaining your vibrant colors, tiny details, and adding a glossy finish – enter laminate!
By first applying a piece of thermal laminate onto the wood, you can then sublimate your images onto it – creating a gorgeous, vibrant, and glossy finish!

Cricut Design Space
Upload Your Photo
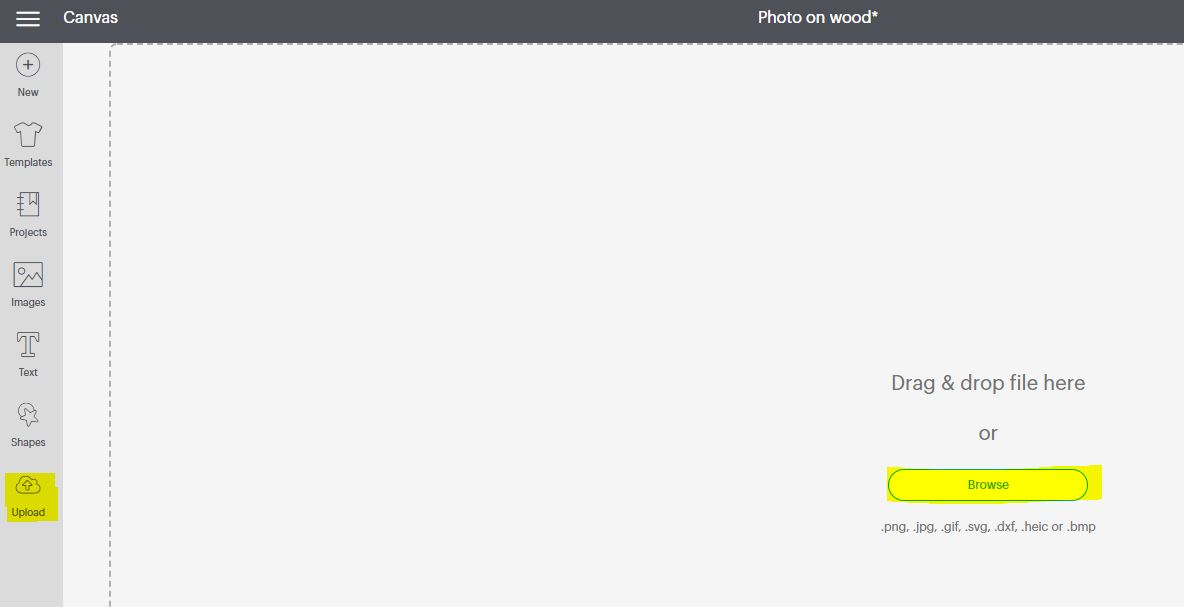
To start this project off, open up Cricut Design Space and a new canvas. Click on the “Upload” button and browse for the image or photo that you want to sublimate onto your wood blank.
Choose “Complex” so that the upload maintains all details and colors within the image, then click “Continue”.
Design Space recently released a new automatic background remover tool, which I absolutely love, however, this is only available to Access subscribers. If you don’t have a membership with Cricut Access, fix up the image (if necessary) as you normally would and upload it to your canvas as a print then cut.
If you are a Cricut Access member, the new background remover tool can easily clean up anything in the background that you don’t want to include in your sublimation! You can choose between automatic removal or the manual eraser. If necessary, clean up your image and upload it as a print then cut to your canvas.

Design
Now that your photo is on your digital canvas, you may need to slice the image in order to best fit your wood blank. As I used a 12” x 6” pine wood board, a square photo fits nicely so slicing wasn’t necessary for me.
Insert a shape from the Shapes Library that best represents your wood blank, then change the dimensions of your photo to fit nicely within it.

Next, add any phrases or other digital embellishments that you would like to include in your design. I used the “Daddy’s Little Girl” basic cut image from Design Space (#M26F586).
Organize it on your wood blank template in any manner you like.

Now with both the shape and the photo selected, attach them, and then duplicate your wood blank template. This copy will represent your laminate layer.
Laminate Template
As I mentioned, the duplicated template layer will now become your laminate layer. Change the color of the laminate to white for visual purposes and change the size to roughly 0.1”- 0.5” larger than your entire photo design size. This is important to accommodate for the slight shrinkage that occurs once the heat is applied to the laminate.
To get a better visual of the finished look, change the “laminate” template to white and place it on the largest shape (your wood blank template). Now place your photo on top of the white laminate template, select all, then center.
- Design Note: Normally I would use some heat-transfer vinyl for the lettering so that the laminate template would fit the photo only, but for this tutorial, I wanted to show you the slight yellowing effect that a blank area of laminate on wood looks like. For your own project, I highly recommend using the laminate for photos only. ☺

If you are happy with the look, you can now delete the largest template that represents your wood blank, separate the photo from the laminate template and click on Make It!
- 👉 Important! Make sure that the photo’s operation is set to Print then Cut, and the laminate template is set to Basic Cut!
Printing and Cutting
Photo Printing
On the Mat Preparation screen, you want to remember to MIRROR the photo, especially if there are any words in the image.
Click “Continue”, then “Send to Printer”.
When the print setup screen pops up, make sure that the system dialog button is active and the bleed is turned off. If you plan to cut your image with the Cricut machine, you may need to turn on the bleed. Also, make sure that you select your sublimation printer in the printer selection dropdown!

Choose the correct printer settings for your type of sublimation printer. This is crucial to get the absolute best results for your photo.
Once it’s printed, use some scissors to cut off the black border that Cricut creates if you do not need to cut via the machine. Set it aside to allow the ink to fully dry.
Laminate Cutting
Take one piece of thermal laminate and cut the pouch in half. You will only need one layer of the laminate pouch for this project, which I love because it helps save money!😉
Place the laminate glossy side down on your mat and change the material setting to Acetate.
The Cricut machine will go through the cutting process twice, so when it is complete, remove the mat, laminate, and your shape cutout and head over to your pressing station!

Cricut EasyPress
Apply the Laminate
After ensuring that your wood blank is ready for pressing (sanded and cleaned) you are ready to apply your laminate. Preheat your press to 365 degrees and set the time to 90 seconds. Place a sheet of parchment paper over your pressing mat for additional protection, and then place the wood blank on top. Put the laminate shape on your blank, glossy side up, as centered as possible, then place another sheet of parchment paper over top. When the EasyPress signals that it is ready, press with medium pressure.

- 👉 Reminder: Using thermal laminate does tend to leave a slight yellow tint – please keep this in mind when planning your projects
Sublimate Your Photo
It’s important to wait approximately 2-5 minutes for the laminate to cool before you apply your sublimation. If you attempt to sublimate while the laminate is still too hot, it could result in bubbling and potentially ruining your project altogether!
Change the pressing time on the EasyPress to 60 seconds, and keep the temperature the same at 365 degrees. When it has cooled, line up your sublimation printout (image side down of course) on top of the laminate and apply your heat-resistant tape (optional). Add two sheets of parchment paper over top and press with medium to firm pressure, being careful not to move the press at all.

When the transfer is complete, use tweezers to remove the parchment and paper; or just wait a few minutes until it is cool to the touch to remove everything.
Finishing
I love how the wood grain shows through the sublimation ink! If you are not a fan of that, you can reduce this effect even further by ensuring that the wood surface is VERY smooth – using an electric sander can help to achieve this.
Now all that is left to do is to add some optional embellishments to your project, such as a hanger, string, bows, etc!
You now have a vibrant photo transfer on natural wood, a technique that you can use in so many different types of projects!
Keep on Crafting! 💖

Dit artikel is geschreven door