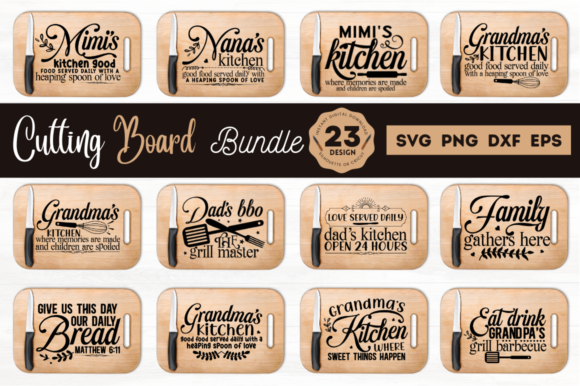
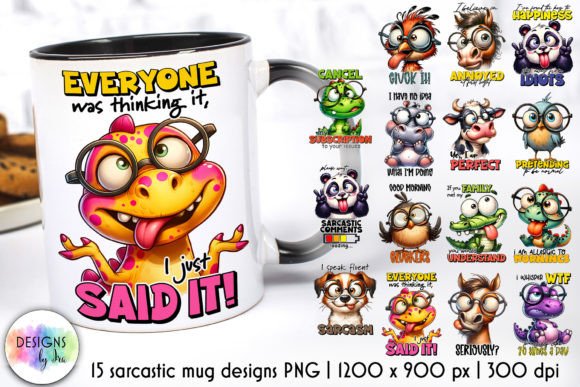
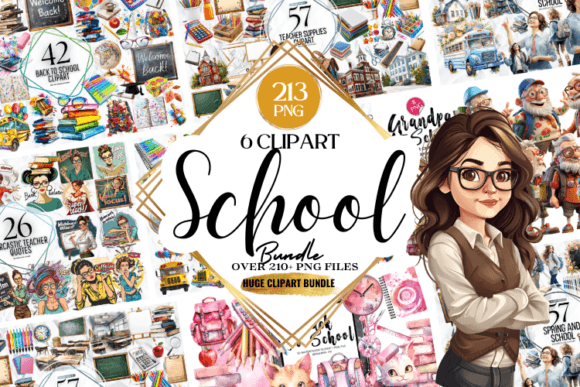
Creative Fabrica has lots of files that can be used for different projects. Let’s take a look at a few that can be used in your tiered tray décor.

Winter and Christmas Dictionary Words


Most of these products can be used in different ways and on different materials for a unique look.
You’ll also need:
- Plaid paper or digital file
- Cardstock in multiple colors
- Electronic cutting machine and associated software (Skycut C24 and SCAL 5 Pro were used)
- Glue
- Double stick tape
- Pop up dots
- Printer
- Foil Quill
- Foil
- 3 Wood pieces measuring: 3 x 2 x ½ inches
Let’s get started
Book covers. Open the cutting software for your machine. Place a vertical rectangle on the mat and size to 3 x 4.5 inches (may still need to make a few adjustments for your specific wood pieces). Copy and paste 2 additional rectangles on the mat.
Choose your words. Choose the text tool and the font Susanna. For this project, the words Snowflakes Kisses & Warm Winter Wishes were used. Size each of the words to about .300 high and it should fit into the width of the rectangle. Be sure to set the word/text to DRAW. Center vertically and horizontally. Then using the move tool, move slightly to the right. Repeat for each part of the phrase, placing in the rectangle as shown below
Replace the blade with the foil quill. Heat for approximately 15 minutes. While the quill is heating, place your paper on the mat and add the foil – securing as needed. When the quill has completed the heating process, load the mat into the machine and let the quill do its magic. Do not remove the mat. Remove the foil quill and replace with the blade. Remove the foil and any other material other than the paper you will be cutting. Cut.
Using some double stick tape, wrap a wood piece with a rectangle, centering the word on the ½ inch side of the word (spine of the book). Trim any excess if needed. Repeat for each of the other two pieces of wood. Stack and if desired, embellish with ribbon and a snowflake button or cutout.


Framed word
Open another page in the software and put a horizontal rectangle the mat and using pattern fill, load the plaid paper into the rectangle. Size to: XX x XX inches. Copy and paste an additional rectangle with the pattern fill on the mat. Print according to your software’s directions. Cut the images.
Open the frame file and choose (name of file). You’ll see two frames on the mat. Cut using the software. White cardstock was used and colored with ink following the cut step. Place the printed rectangles in the frames matching the corners in the center of the frame. Assemble the frame. The longer edges will tuck in under the edge of the shorter side. Use glue or tape to secure the edges in place.
Print the Christmas word file. Cut the work you want to use. Using pop up dots, secure the word print to the flannel. Attach a button with some additional pop-up dots to finish it off.


Hot Cocoa stencil
We created this using a stencil, but you could certainly use vinyl to accomplish the same goal. Open the SVG file of the one you want to use from the bundle. Size as needed. To create the stencil using silkscreen materials refer to this article. If you’re cutting with vinyl, cut, weed, and apply to the surface you’ve chosen. We’re using a house shape made of paper. The stenciling was done BEFORE the shape was glued to the base.


3D Layered Star
Open the file in the cutting software, stack all the pieces – centering both vertically and horizontally. Resize to approximately 4 inches wide and high. Choose five different colors of paper and cut the layers in the color as desired. Once all the layers have been cut, select the bottom layer and the next layer. Align edges and glue together. Using pop-up foam dots, apply the dots on the backside of the next layer making sure that the outside edges and the interior also have some support. Repeat for the next two (2) layers. Align one layer at a time and adhere in place. If desired add a little mica for some sparkle.


Once all of the components have been completed, arrange as desired in the tray. Use additional items you may already have to complete the arrangements and enjoy the tray.

Thanks for stopping by. For more inspiration, check out Jan’s page here or her blog. If you choose to create your own tiered tray décor using files, graphics, SVGs from Creative Fabrica, be sure to share!


