Create these Christmas Gifts with UV Resin and Cutter

This project is all about creating quick but unique gifts using UV Resin and your electronic cutter. Now, before we delve into the project, I must give you the rules of crafting with UV Resin…
- Always read and follow safety instructions on your particular brand of resin
- Always wear gloves and a mask
- Avoid skin and eye contact; flush with water and seek medical advice immediately if you do come into contact with uncured resin
- Avoid exposure to the UV lamp to bare skin
- Look for brands with minimal VOCs
Done safely, UV Resin can be addictive and a way of creating multiple projects quickly with a little forethought and planning. We would recommend preparing many of these designs in advance.
DIY Jewellery: Christmas Gifts with UV Resin and Cutter
What you need:
- UV Resin and suitable lamp
- Silicon based tools and mixing bowl
- Jewellery moulds (transparent), solid bezels or open bezels with tape
- Jewellery findings: jump rings, necklace thongs/chain and closures, key rings and/or earring hooks
- Two pairs of pliers (for safely opening the jump rings with a twist)
- Small rubber stamps and ink
- Card
- Patterned or printed papers
- Decorative or plain acetate
- Foil (optional)
Prepping for your projects
- Start by measuring the inside dimensions of your moulds and/or bezels. If there are small bits of moulds to form holes, measure inside of these. Moulds, in particular, should have an extra 1-2 mm between the edge of the mould and the edge of the template.
- In your design software, create template shapes that you can use to cut out elements with your cutter.
- Firstly, cut out a set of your shapes from a sheet of plain, white card. This will enable you to test out your templates without incurring too much cost. We can also use these shapes to stamp with. Firstly, check the fit in your moulds and/or bezels. Adjust if needed before proceeding.
Stamping for solid bezels

- You can do several layers of stamping by starting with paler ink colours. Water-resistant inks will stand up the best to the resin: Archival, permanent inks. Start with a background small scale script and a pale mint ink.
- Next, choose a foliage stamp and a darker teal ink and stamp your image off the edge of your card.
- Place the stamped shape into the corresponding bezel; you can use a little double-sided tape to secure it if you wish. Set this to one side before applying resin. You can then do all of your curing at once. You can also add any inclusions you wish at this stage too.
This keyring also started as a stamped shape, but this time the dark image was stamped first. The card was then coloured with Antique Linen Distress Ink.


Curing solid bezels
- Firstly, don all your safety gear and prepare your light ready to just slide over your filled bezels. You can get 3-4 bezels under the average lamp.
- Open the bottle and fill each bezel with a blob of resin. Spread out the blobs to the edges of your bezels using a silicon tool. You can add mica or leafing flakes as you do this. The layer needs to be at least 2mm thick all over to cure successfully.
- Move the lamp over your filled bezels and your tool and light the lamp. UV Resin generally cures in 60-90 seconds with the correct light source.
- After curing, the pieces will be warm if not hot to the touch, so allow to cool momentarily before handling. The lamp itself won’t be warm though so slide the lamp back out of the way.
- Attach your chosen findings once the pieces have cooled.
Open bezel ideas
- Attach the bezel to the tape to seal the back of your bezel. Press it firmly around the edges to prevent the resin leaking. Repeat for all the open bezels you plan on filling.
- Fill each open bezel with a 2mm layer of resin and spread it with your silicon tool. You can either use the resin in its clear form, or mix a little in the mixing bowl with a UV compatible dye or fine glitter.
- Slide over the lamp and cure the resin in all of your bezels.
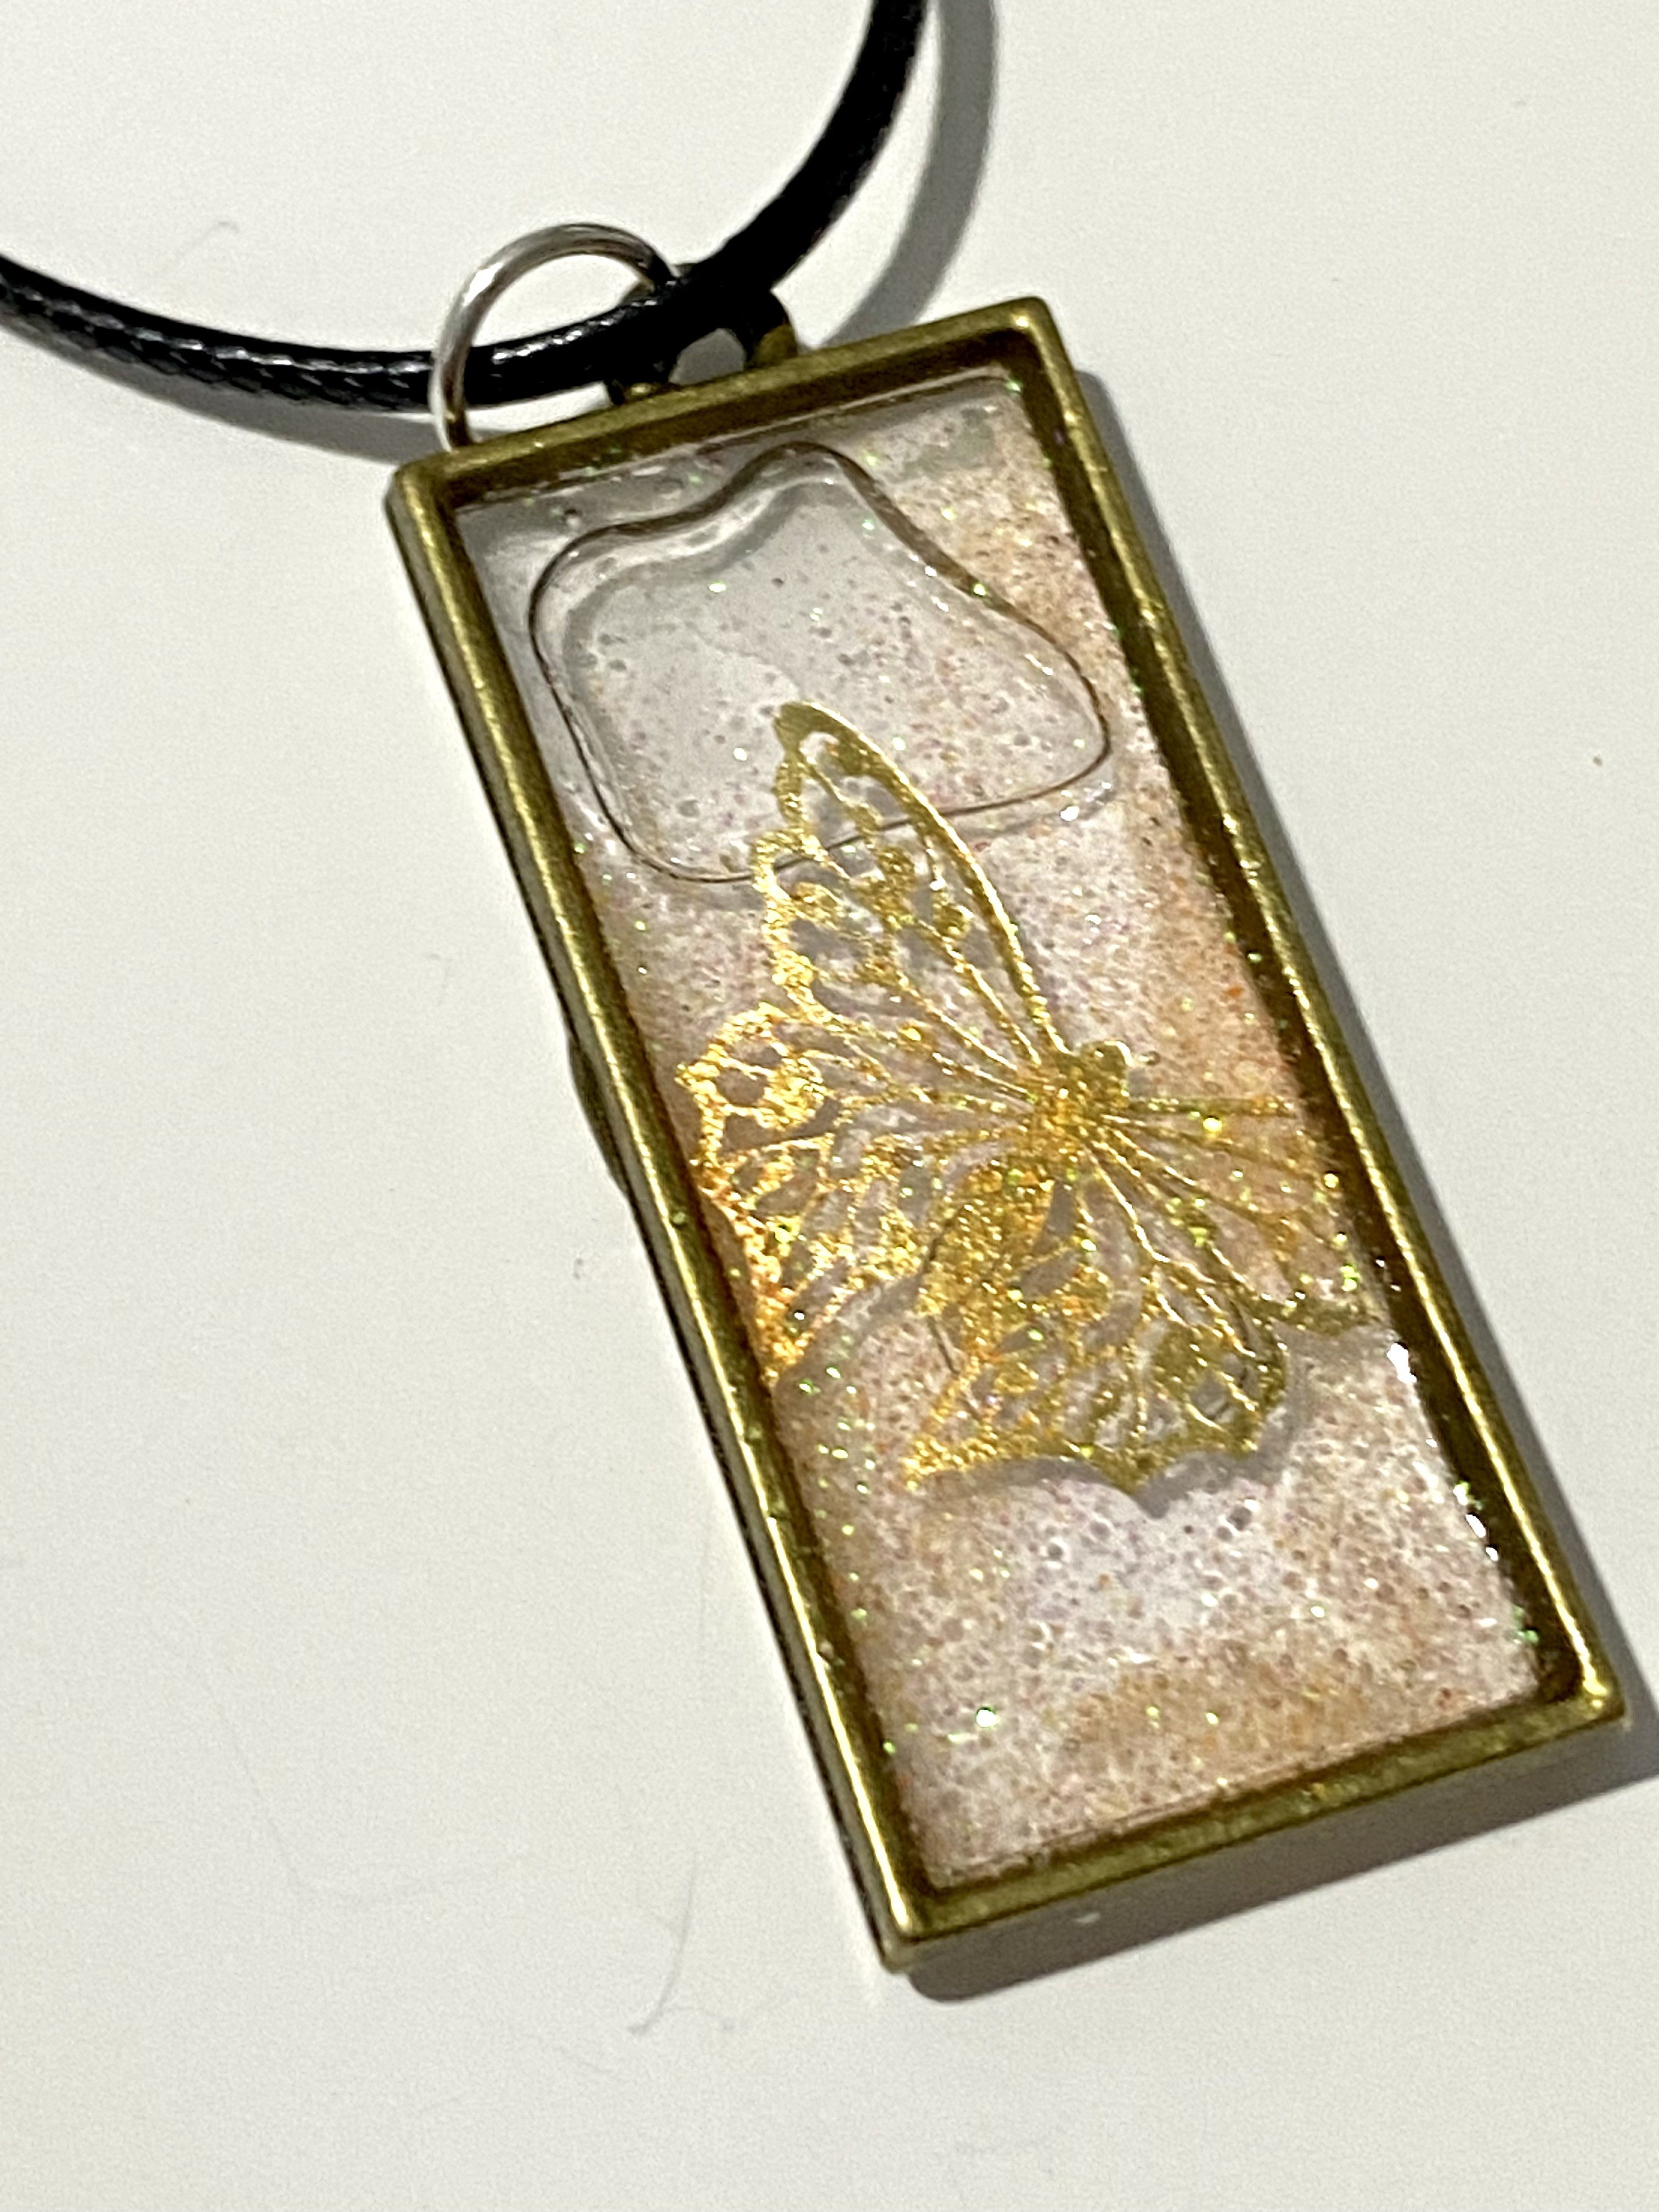
- Open bezels are fun to create floating effects using acetate. You can either use pre-printed/foiled acetate and use Background Scan to place your shapes, or you can add your own designs using foil and your cutter. If you use cold foiling, make sure everything is fully set before applying into resin. You can also use small stickers, gems or inclusions.
- Place your acetate into the bezels and top with your chosen inclusions or just clear resin. This should go all the way around the edges as well as touching the front of the bezel frame evenly around the edges.
- Cure the bezels fully and allow them to cool completely.
- Peel the tape away very carefully so as to not dislodge the resin from the bezel. Top this side with another layer of resin to give a nice shine to the reverse of your piece, but also to seal the resin to the bezel.
- Cure this last layer, allow it to cool and then finish with your chosen findings.
Using moulds

- Put a layer of resin in the bottom of each mould you want to use. This layer can also contain UV pigment, dye or mica if you wish. You want to make sure the resin goes right to the edges, as well as around any hole making uprights. Cure this initial layer and set aside to cool.
- Cut your mould templates from patterned or printed paper using background scan (or equivalent) to choose the sections of paper you want to use. Remember to cut two pieces for each mould so you can stick them back to back. To make it easier, use double-sided adhesive to align the pieces.
- Place the paper into the mould, top with another 2mm layer of resin as well as any preferred inclusions and embellishments. Cure the layer – firstly, from the top as normal, then flip the mould over and cure from the back.
- Allow the pieces to cool before demoulding. Check each piece over for any imperfections that may require additional resin. You will also need to smooth the front as moulds will set with a concave profile. Some moulds will also give a matt finish, so you may prefer to add a top coat to bring back the shine.
- Once everything has been cured and cooled, you can then add your chosen findings.

These are just three ways we can use UV resin to create gifts this Christmas. You can also use resin onto surfaces of gift blanks and other small items. You can also use embossing powder, pressure embossing, and other special effects as well as vinyl.
Now, go explore and remember to always play safely.
Ten artykuł został napisany przez


