My favorite thing about the holiday season is creating my own decorations with my Cricut. You can make so many things for displaying on tabletops, to wall art, it’s really a fun time for crafts. I love to use my Cricut and find different ways to decorate through the seasons. I recently saw 3D-type paper crafts on Pinterest and really wanted to try one of my own.
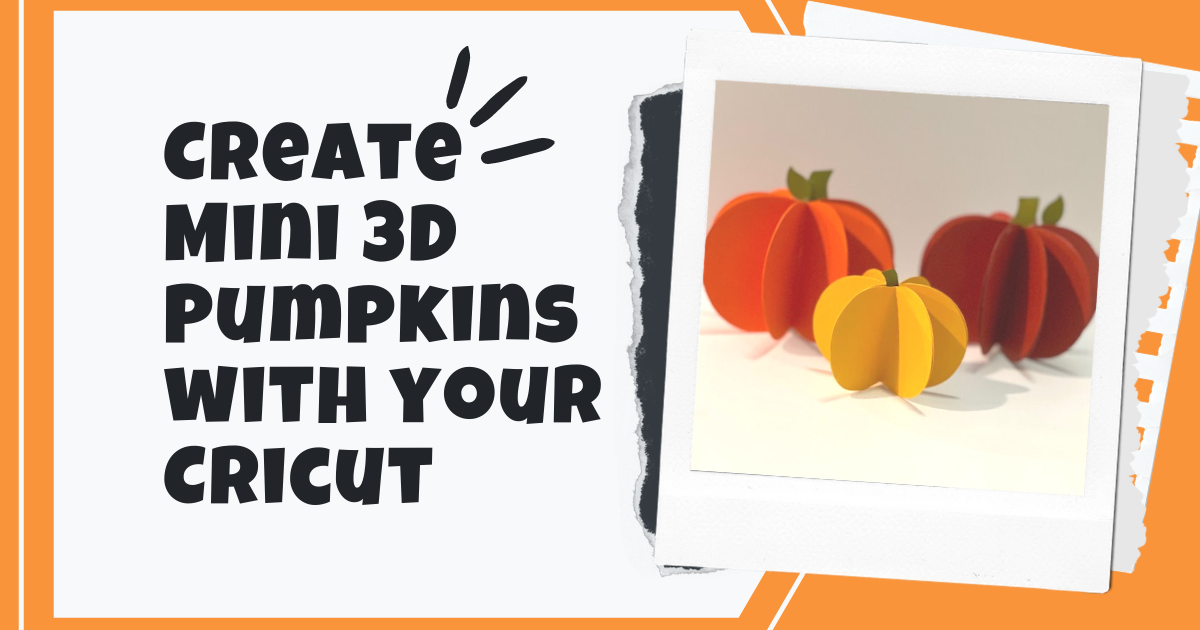
Creating your own fall decor can be really easy using your Cricut or cut machine. Oftentimes I use leftover craft paper, vinyl, or card stock to make holiday-themed decorations. During fall season, one of my favorite things to craft are pumpkin-themed decorations. This 3D pumpkin craft is very versatile and the pumpkins can be made into center table pieces, over the fireplace mantle accents, or party-themed decor. Use different colors to compliment the theme of your fall ascetic and make it your own.
What you’ll need
For this project you will need card stock in the color or colors you would like to create your pumpkin. You will also need glue. I have found that hot glue works best for working up the pumpkin quickly, but any kind of glue will work well for this project.
I purchased a pack of fall-colored themed thick card stock from my local craft store to complete this project but feel free to use any thick paper you already have. If you are creating several pumpkins, you may want to keep them in a color palette so that the pumpkins have a cohesive look. To go with my fall theme I chose to make orange, dark red, and yellow pumpkins with green stems and leaves.
You will also need the 2D Pumpkin SVG, which you can download for free here.
What you will do
This is definitely a project that seems tricky at first but once you get the hang of putting the pumpkins together they are fairly easy to make.
The SVG that you can download for this project comes in three separate pieces, the pumpkin body, the leaf, and the stem. Download all three pieces into your Cricut Design Space and create a new project.
Once you have downloaded all your pieces onto your project, deselect the stem and the leaf portion, we will be getting back to those pieces later.
Size the pumpkin according to how large or small you would like them to be. I created ‘mini’ pumpkins that are about 4-5 inches each, but you can make them whatever size you would like.
After you have your pumpkins sized, copy and paste the pumpkin body into duplicates of 2. I used 8 and 10 pieces to create this project. I would recommend not to go as small as 4 pieces otherwise your pumpkin will not stand up correctly. I would also not go as large as 20, otherwise, your pumpkin will be too thick to stand.
Set up your cutting mat and cut your pumpkin accordingly. Make sure you set the dial on your Cricut to card stock. If you have it set on vinyl, your Cricut machine will not cut through the card stock appropriately.

Once you have your pumpkins cut, gently peel them off the mat. They should pop off the card stock relatively easily.
Next, cut out your stem and leaf shapes by selecting them with your mouse and deselecting your pumpkin bodies in Cricut Design Space. I used green card stock to cut my leaves and stem, but you could also use two different colors for those pieces also. If you are going to use two different colors, you will have to cut them separately by selecting them and cutting one at a time. Don’t forget to duplicate and size up or down your stems and leaves. Size them according to how large or small your pumpkins are, and duplicate them for how many pumpkins you are making.

Once you have your materials cut out, take your pumpkin bodies and fold them in half like the picture. You will notice that the pumpkin tops are rounded, and the bottoms meet together at a point. This is to give room for the leaf and step at the top of the base. Make sure all your sides are matching up to the correct shape.

Pick up two pieces of the pumpkin body and match up the sides. Glue the two sides together. Continue gluing the sides of the pumpkin together until it looks like an accordion.
After you have your pumpkin pieces glued together, glue the two remaining edges together, creating one continuous piece.
Glue your stem and leaf in the center of your piece to the top of your pumpkin. I like to glue each stem and leaf leaning in a different direction to make each pumpkin unique.
Continue until all of your pumpkins are completed.
Now you can display and enjoy your pumpkins all season long!

Tips and Tricks
Experiment with different types of paper or even felt to create a completely different look.
Try textured paper or paper with patterns printed on them.
Decorate your pumpkins with paint, confetti, or glitter.
Cut out several more leaves and glue them around your pumpkin or omit the leaves altogether and just opt for stem-in pumpkins.
Try pastel pink, yellow and blue for a more modern updated fall decor.
Group several pumpkins on a silver tray and place them in the middle of your dining or kitchen table for a centerpiece. Add natural objects like acorns to complete the look.
Instead of gluing the edges together, fold a piece of card stock in half and glue them to the paper creating a fall-themed 3D card.
Create a dozen mini pumpkins and add a hole punch to the top of the stem. String them along to form a garland and hand them over a fireplace, doorway, or for a party decoration.
Keep your pumpkins in a tupperware or bin and use them again year after year.
For more Cricut crafts, follow me on Creative Fabrica’s The Artistry blog!
Este artigo foi escrito por


