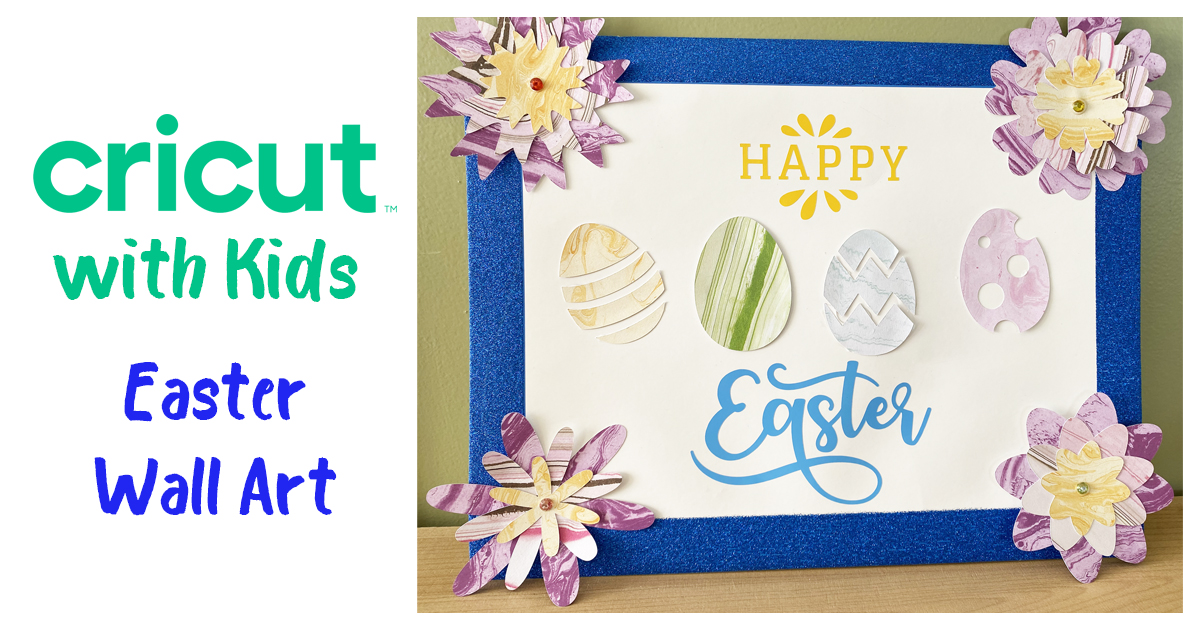
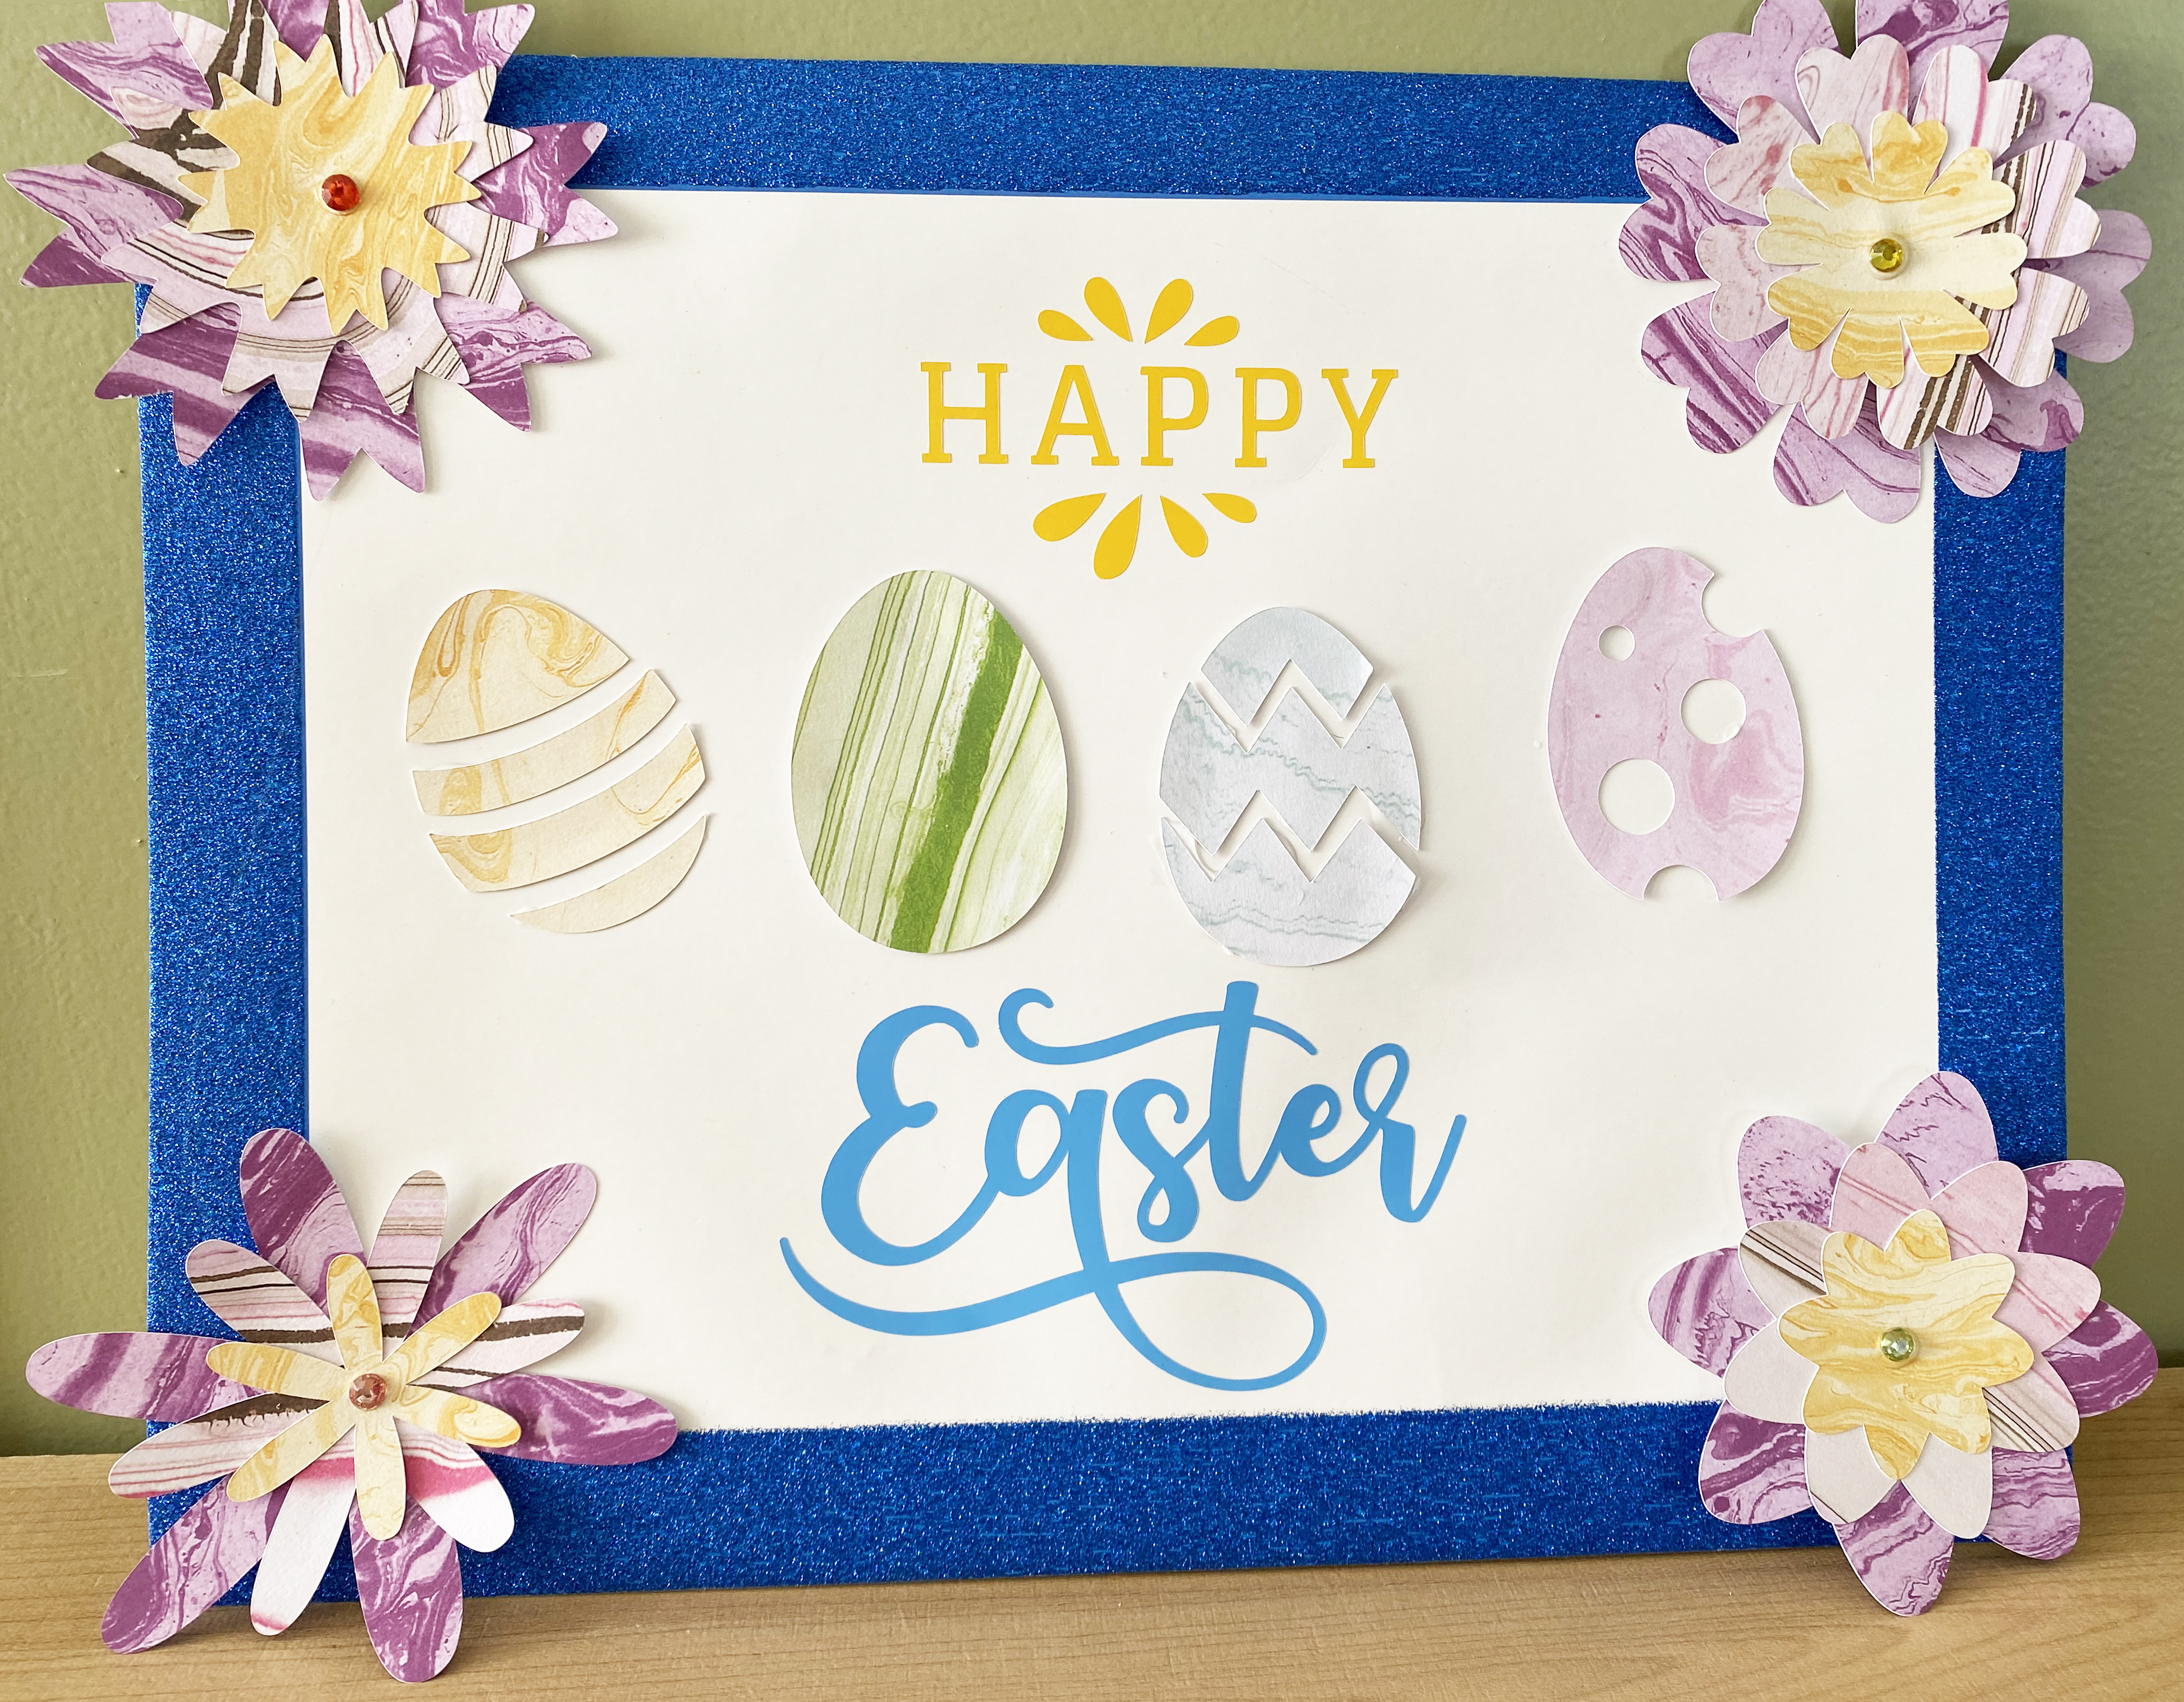
With the large number of kids staying home much more frequently over the last year, many parents have turned to arts and crafts as a way of spending quality time with them. But keeping our little ones interested is an ongoing challenge! This beginner project will help introduce them to using Cricut – and help get everyone into the Easter spirit!
Supplies Needed
- Glitter frame cardstock (optional)
- Decorative cardstock (optional: color your own)
- Clear drying craft glue
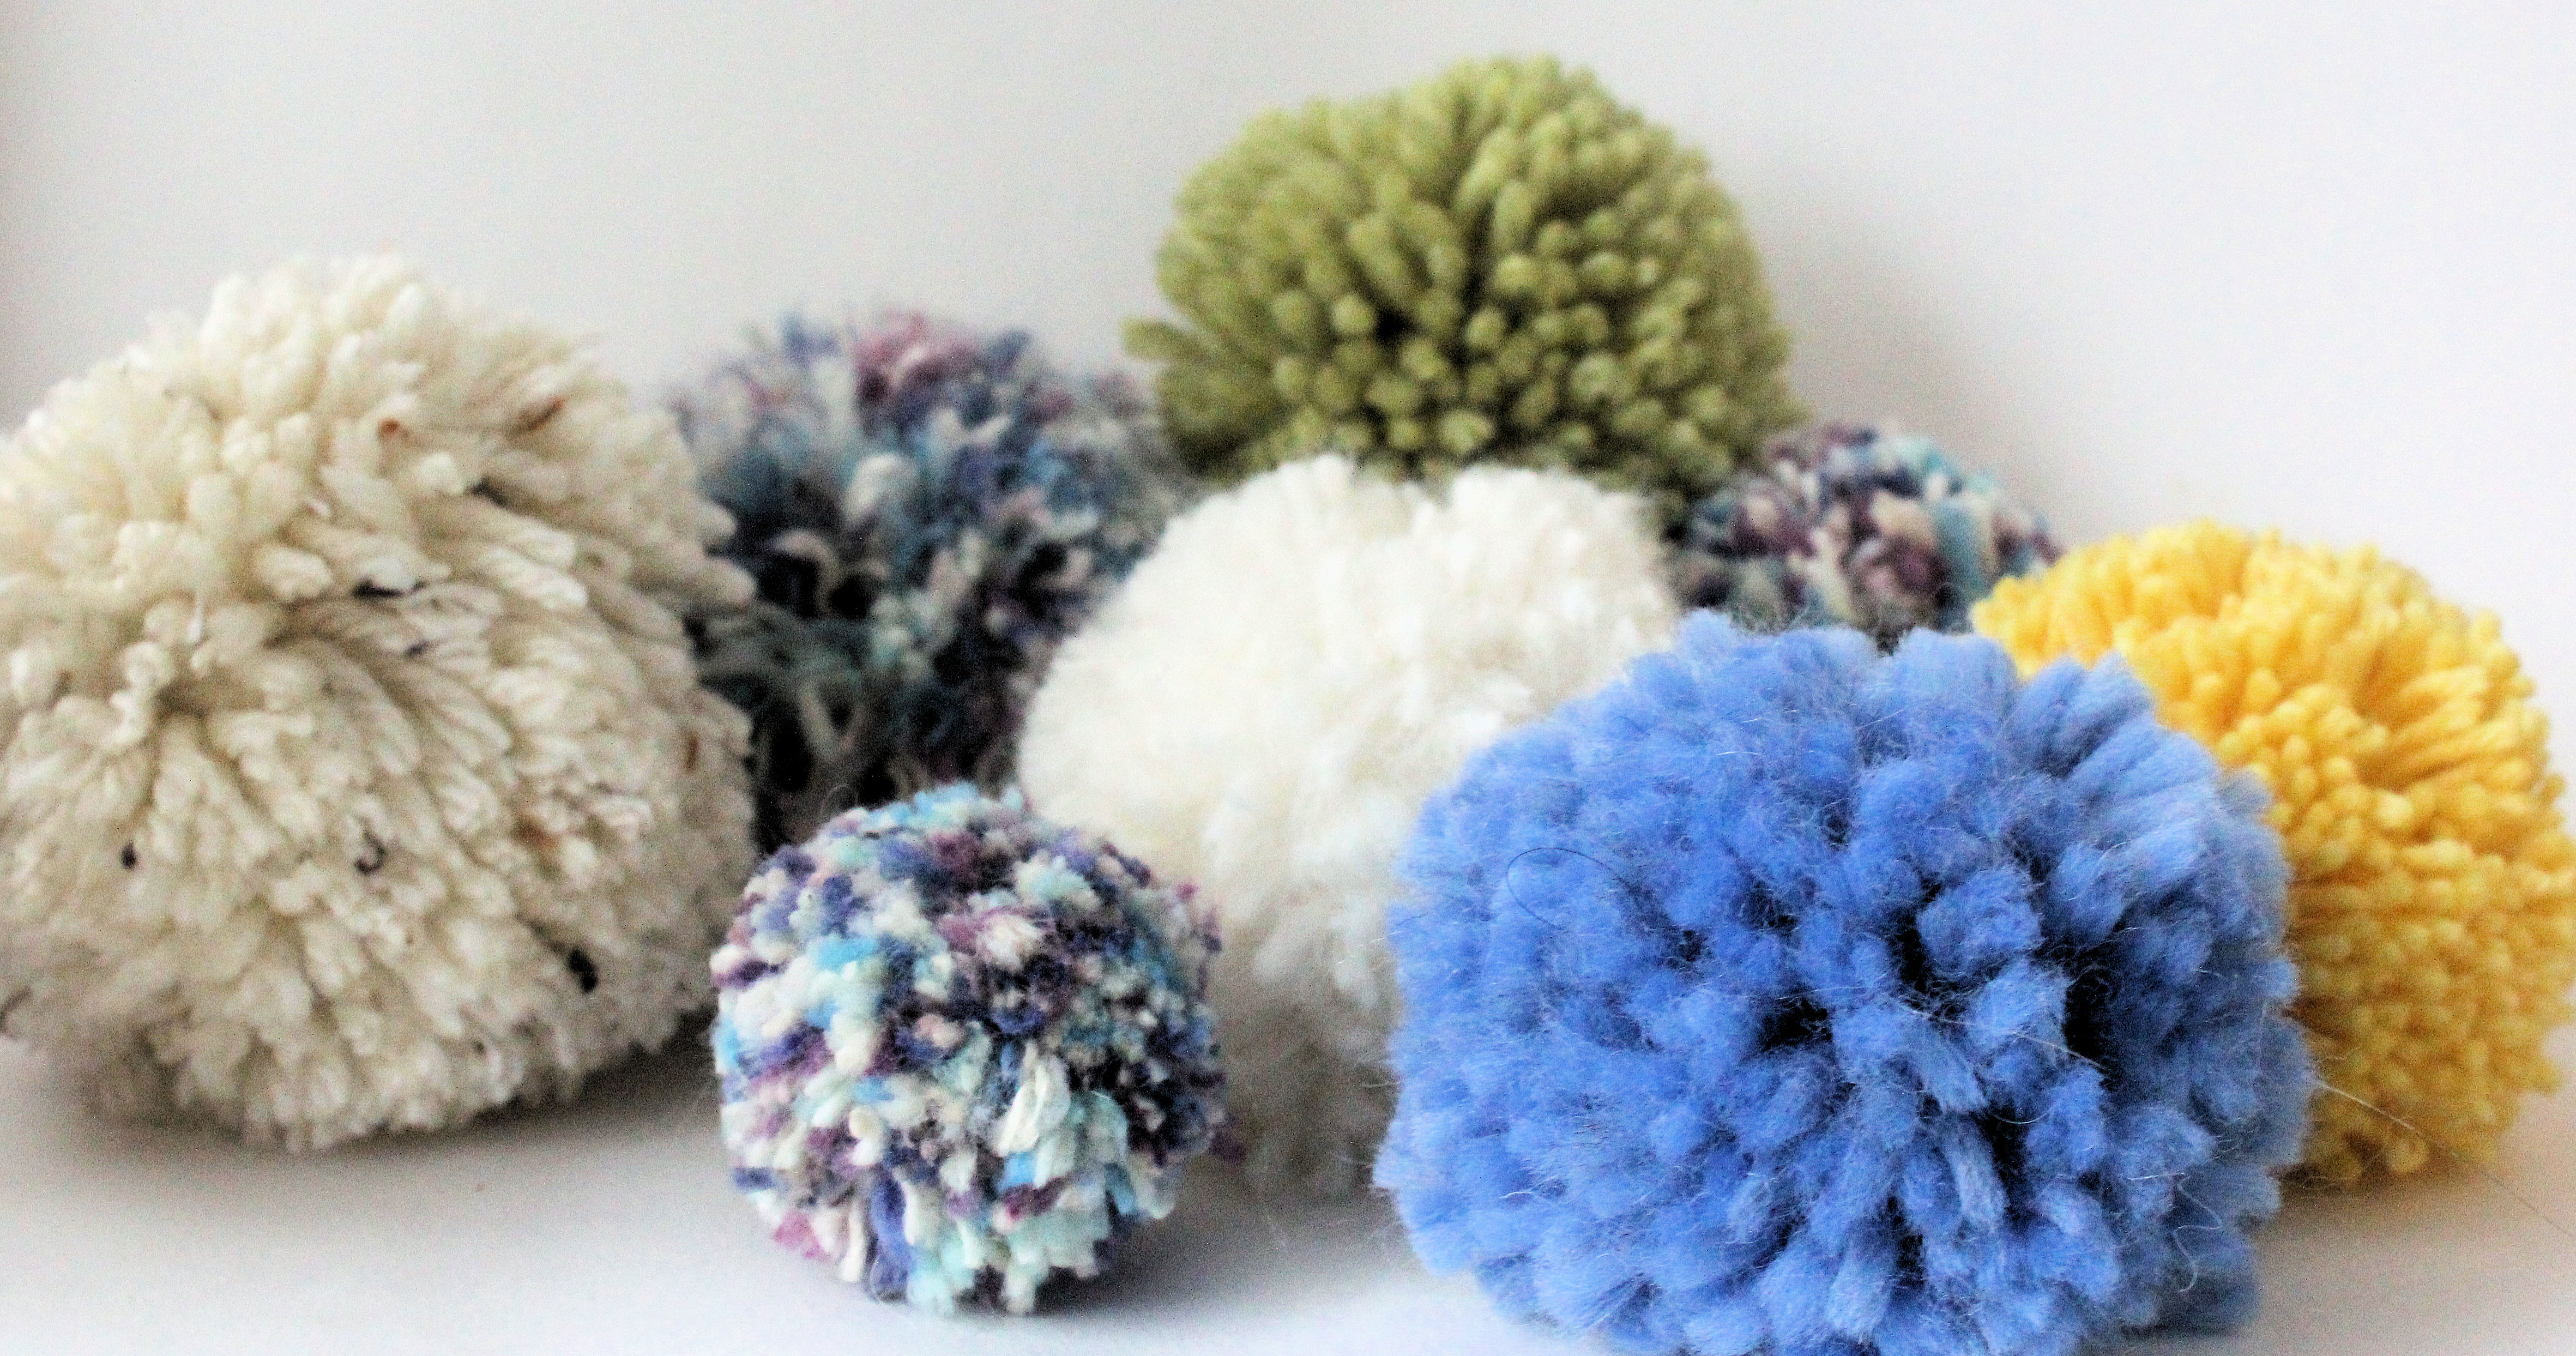
- Embellishments (beads, gems, pom poms, etc)
- Digital products: Paper flowers SVG, Easter Eggs Bundle SVG
- Cricut spatula
- Permanent vinyl (I used Oracal 651)
- Cricut Explore Air 2 (or another cutting machine)
- Protective table cover
Making Your Easter Wall Art – Prepare Your Equipment and Supplies
Right off the bat, you can get your kids to help in preparing for this project. Introduce them to the Cricut machine, tools, and mats; giving them a brief overview of how each of them is used. Together, you can collect all of the materials that you will be working with, and create an organized craft space at the same time. Place everything that you will be using within easy reach for both you and your child, with the glitter frame cardstock at the front and center as this will be your “canvas”. Don’t forget to put a protective covering on the table to avoid any accidental spills!
Creating Your Easter Art in Design Space
The first thing you will want to do is to upload your Easter eggs SVG, paper flowers SVG, and the text image in Design Space. Let’s start working on the flowers first.
Paper Flowers
To create the paper flowers, choose four or more designs from the bundle that you like best.My daughter and I chose to use flower numbers 4, 14, 28, and 32. Once you have them uploaded, resize them accordingly to generously fit the corners of your glitter frame cardstock. Keep in mind that you will be cutting three sizes of each of these flowers to create the layered flower effect.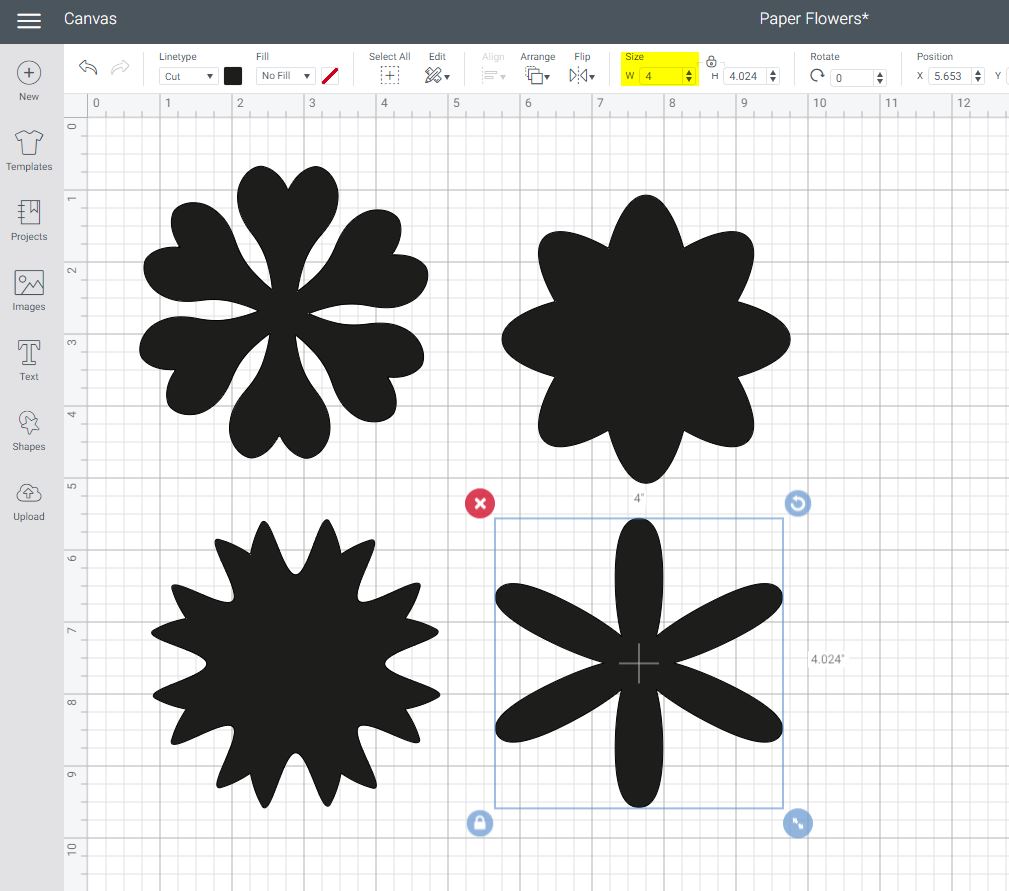
We started with 4” wide flowers, then we cut 3”, to finally 2”; changing the colors with each size. Giving your child the freedom to choose the colors and/or designs for the flowers will help to inspire their creativity! The paper flowers bundle from Creative Fabrica really cannot be easier to use – simply upload, size and make it. It really is a great design for beginners!
Repeat for as many sizes/layers you would like.
I have been teaching my daughter to use the Cricut, so this was a fantastic opportunity for herto do a simple cut on her own. Depending on their age, I encourage you to have your kids do this too! (always with supervision).

Once you have everything cut and removed from the mat, you are ready to glue your flower pieces together! With your largest flower face up on the table, take your 3” (or next size down) flower and place a small dab of glue on the back. Stick it to the center of the 4” (or largest) flower so that the petals fill the gaps. Repeat with the 2” flower onto the 3” one. After you have glued all of the pieces of the flower together, repeat the same process for the other three flowers. Set aside for about five minutes to allow them dry. Next, taking one of your embellishments, glue it to the center to create a nice finished look. My daughter chose to use some small flat-backed gems, which add a little sparkle, but mini pom-poms would work great as well!
Set your flowers aside to completely finish drying while you work on the Easter eggs.
Easter Eggs
When you upload the Easter egg design, you’ll notice they are grouped together – go ahead and un-group them so that you can work with each one individually. We sized our eggs to be 2 inches wide; allowing them to fit nicely in the center of our framed cardstock. Once your child has chosen the color and/or designs, click on make it.

After they are removed from the mat, bring them over to your craft table and set them aside.
Happy Easter Design
Now you can create the main message for the wall art, Happy Easter! The image that we decided to go with is directly from Design Space. Go to the images library and search for Happy Easter, and choose the one you like best. Just be sure that you can separate the words on the board by using the ungroup feature if you want to replicate the design that we did.

After the image has been un-grouped, change the words to the color you will be using for a better visual. My daughter chose yellow for the “Happy” and resized it to 3.5 inches wide. For “Easter”, we used ice blue and sized it to 5 inches. Of course, the size all depends on the dimensions of the frame you are using. We purchased the glitter frame rectangle from the dollar store and the workable area measures roughly 12 x 9. When you are both happy with the design and size, click on make it.
This is another great opportunity to get your kids involved and teach them how to weed the vinyl!
Piecing It All Together!
Now that your vinyl and eggs are cut and your paper flowers are dry, you get to have some real hands-on fun!
Before gluing anything though, decide on the layout of your sign with your child. Figure out the arrangement of the flowers and eggs, and how the Happy Easter will be placed. After you have decided how you want your art to look, you will first apply your vinyl. By applying the vinyl first, you will know how to place the other decorative items around it so that you don’t cover it up accidentally.

With the vinyl applied, place a large dot of glue on the backs of the flowers and glue them to the corners of the frame (or wherever you and your child decided). Next, add your easter eggs. You can stop there or if you like, you can use a small paintbrush to brush on some mod podge and then sprinkle some more glitter to the empty spaces. My daughter felt happy without this step but between us, I wanted more glitter 🙂
Finishing
Now that everything is glued on, simply set it aside for a few hours to thoroughly dry before you hang it up on your wall or window.
Happy Easter Everyone and Keep on Crafting!
This article was written by