Create Simple and Beautiful Bridal Shower Invitations
I have a confession to make…I LOVE throwing showers for my friends and family. I enjoy everything about it, from making unique invitations to all the party decorations and preparing the food. I’ve hosted bridal showers for 5 friends now!
I’ll be creating several different posts in the upcoming weeks breaking down all of the various crafts for hosting a shower. This week is all about the invites, I believe they really help set the tone for your party.
Supplies Needed:
- Cardstock
- Envelopes
- Sticker Paper (optional)
- Graphics
- Fonts
- Printer
- Paper Trimmer
- Electronic Cutting Machine (for stickers)
Step 1: Open the Graphics File in Design Software
I always use my Silhouette Studio software to design almost everything I do, it’s a personal preference but I love how easy it is to use.
Open the file, I’m using a pre-designed invitation that I will modify the text in. (why mess with perfection?)

When you first open the file it will come in very large, scale it down to the size you want to use for the invites. I’m making mine 5” x 7”. I like using the scale tool and just enter my dimensions so I know it’s the correct size. I also changed the line color to black.

Step 2: Release the Compound Path
When you first bring the file in, it’s all one large file. In order to make your edits, you’ll need to release the compound path which breaks everything down into smaller components.

For this particular file, it will literally break it down into each small part. I selected certain sections and then re-made compound paths so I could easily move them around while keeping the original design items intact. I simply slide the parts I was changing to the side so I could reference them while typing my own.

Repeat this for every design element. I should note that I thickened the line weight of the drawing elements so they printed a bit bolder.

Step 3: Add Your Own Text
I used Times (a standard font you most likely have) for the smaller areas because it was a close match to the original design. In the text box, you’ll see the bottom-most section called “Character Spacing”. This is where you can add more space between the letters (aka kerning) and spacing between each line of text. I’m just trying to make it match the original design because I loved the overall look.

For the cursive lettering, I’m using the font Dashinta because it’s close to the original design (and it’s gorgeous!!). I also rotated it a little bit to add some more visual interest to the card.

Repeat the Times font again for the rest of the party information. I left a gap by hitting my space bar between Sunday and June so I could add in the larger date and aligned them to match along the top.

Make sure to group it together once you’re happy with the final look so you can move it around easily.

I typed out the time below in a separate text box and used the align tool to make sure it’s properly centered. Next, group that with the date above once you’ve got it perfectly spaced how you want it.

Repeat typing the address of the event details below and size it to the correct scale.

Step 4: Align all of the Text Elements
You’ll want to make sure all of the groups of text you just wrote align properly. Select all of the elements and then align them as desired using the scale tool. I chose to center them to match the original invitation design.

Once you’re satisfied with the final look, group it all together.
I drew a 5” x 7” rectangle around the card to help me see the overall alignment of the entire card. I moved all of the design elements to their final places and grouped the whole design together.

Step 5: Duplicate the Design to Fill the Cardstock
I’m using 8.5” x 11” cardstock so I wanted to make sure to fill the page up as much as possible. I copied the whole design and pasted it to the other corner of the sheet, you can use the align tools again to make sure they line up perfectly for easier paper trimming.

Step 6: Print on Cardstock
For this design, I’m just printing them out and using my paper trimmer to cut them down to size. Make sure you’re printing using the best settings possible for the cleanest print.


Step 7: Trim the Paper to Size
I just aligned my cardstock in my trimmer and cut the invitations down to the correct size.

You are technically are done with your invites now! I’ve always been a little extra and decided to create custom stickers to add to the envelopes to address them to the guests.

Optional Steps to Design Custom Stickers: Step 8: Open the Graphic File
I’m using this pre-designed geometry frame for the base of my stickers. Like before, it will come in at a very large and you can scale it down to your desired size.

Step 9: Trace the Design
We need to add an edge for the cutting machine to cut to create the actual stickers. Trace the image and then select “Trace Outer Edge” to only make a line around the outermost portion of the design.

Step 10: Offset the Traced Edge
I find having a small white edge around the sticker makes it a little more forgiving when using the print and cut features. This creates a small buffer zone so your image doesn’t accidentally get cropped if it doesn’t cut perfectly along the edge.

Use the offset tool with the newly traced edge selected and create a small offset, then delete the original traced line so there’s only one edge to cut.
Step 11: Adjust the Cut Settings
Before replicating this design multiple times, I’ve learned to head to the send page first and set it up to only cut the outer edge of the design. Now you can add in the words and copy and paste as many times as needed to fill the page without having to fix it multiple times at the end.

Step 12: Add Registration Marks and Text
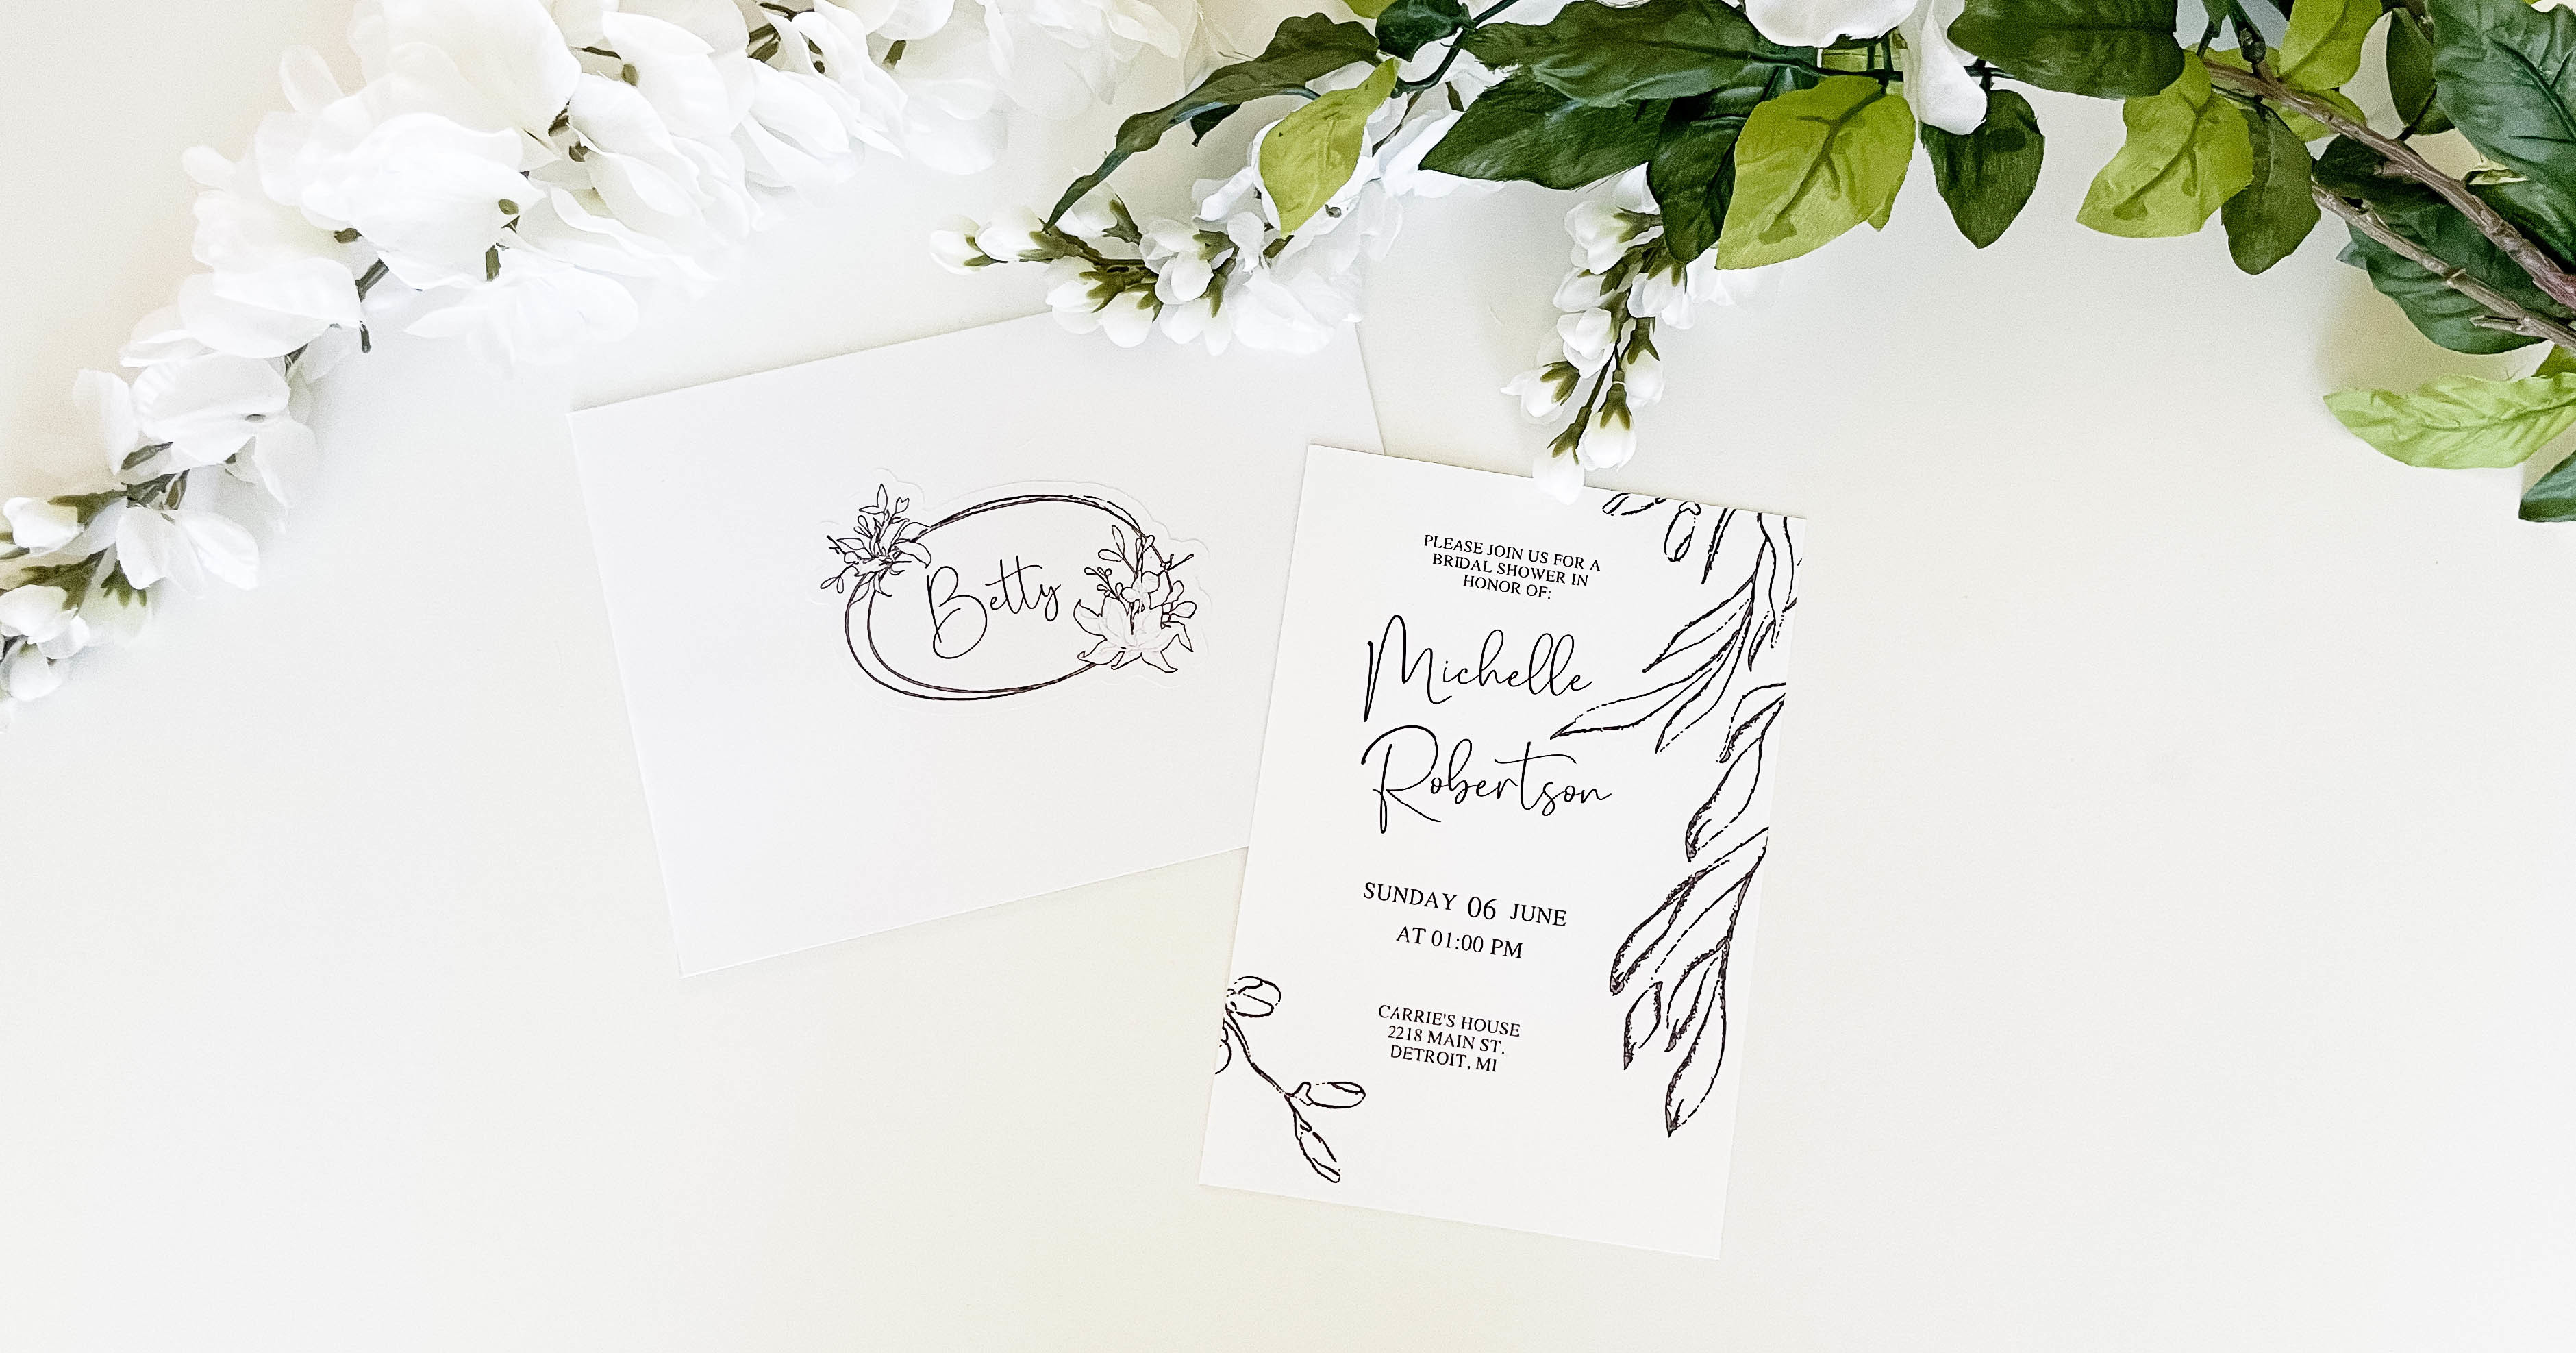
I’m using the Dashinta font again for the names of the guests. Did you know you can access the extra glyphs for the fonts by clicking the “G” in the text tool? I used the double t glyph for the name Betty for a cleaner look.

Side note: This party is for my co-worker so all of my guests work at my office and I simply just handed them out in person. If you’re mailing your invites just enter the address information inside of your stickers.
To add the registration marks head to the page setup panel and check the box. I find not adjusting the default settings results in less frustration when having the machine register the marks. I’d rather use more paper than mess with those darn settings! 🙂
Step 13: Print the Stickers
Add your sticker paper to your printer and print the design out making sure to use the best settings.

Step 14: Cut the Stickers
Load your printed sticker sheet onto your cutting mat and send the design to be cut. Make sure that you also adjust your cut settings to match your material. I played with using a printable foil sticker for one round but decided the white paper looked best.


Step 15: Assemble it all Together
Now that you’ve cut beautiful stickers you can carefully stick them onto your envelopes and stuff the card inside.

You can create a sticker to seal the envelopes too if you wish!
Now hand/mail out those gorgeous invitations with pride! I loved seeing people’s reactions when I handed the envelope to them at work. Almost everyone said they had a hard time wanting to open them because they didn’t want to ruin it! LOL
Make sure to subscribe to follow me if you want to see the rest of the bridal shower posts coming in the next few weeks!
Thanks for following along!!
Carrie Christenson
This article was written by